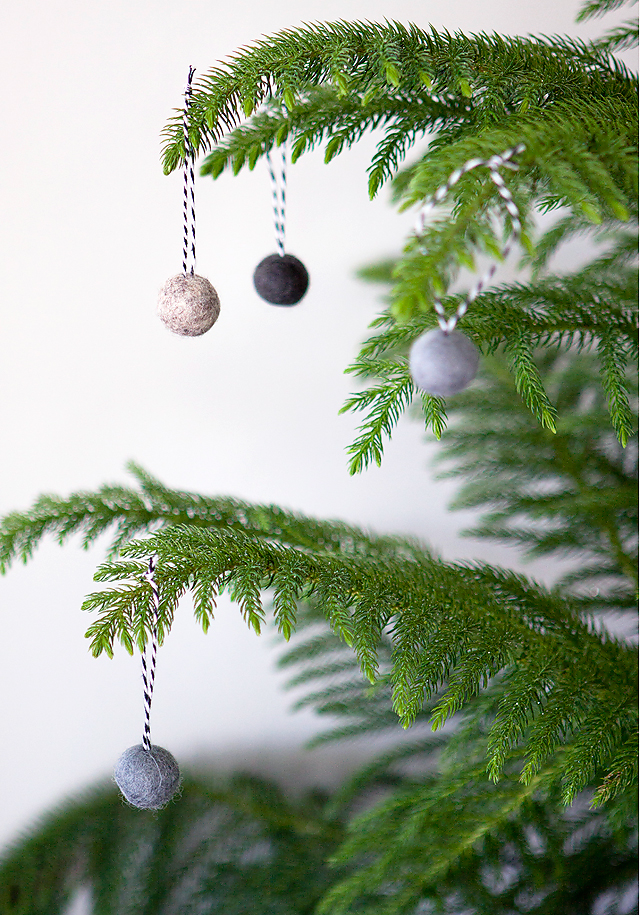
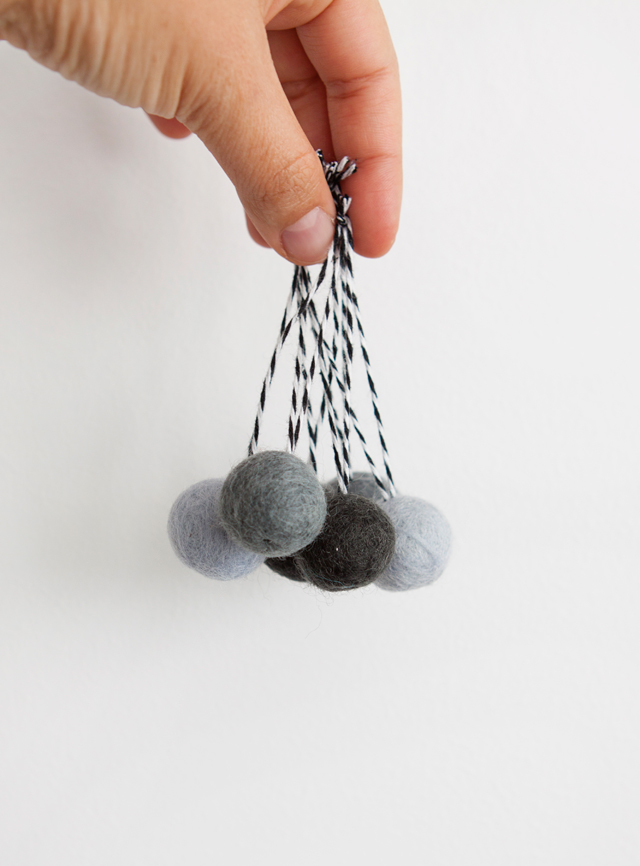
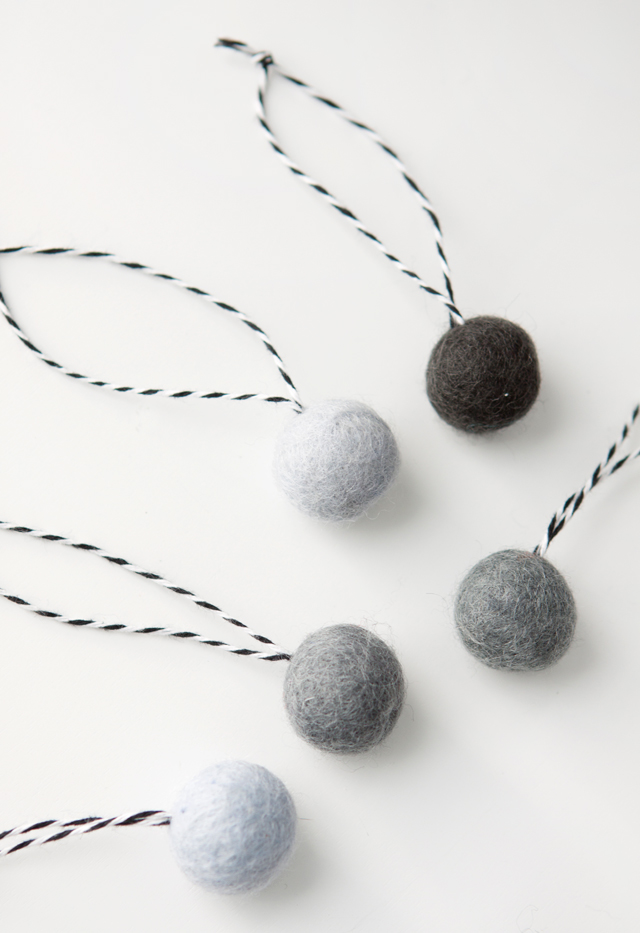
I’m excited to share with you this fun felt ball ornament tutorial.
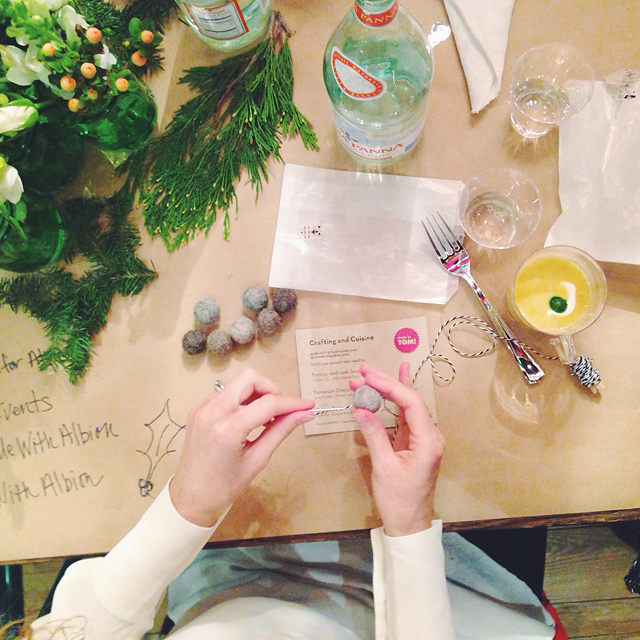
I was able to teach a class this month over at Albion Fit. We had a fun evening of crafting and amazing cuisine by Food by Tom. It was the perfect combination! (My outfit is from Tai Pan Trading)
We had some amazing people attend the event, it was so fun to chat and get to know some amazing ladies! I met so many creative ladies, and even a professional mountain biker, and even Melissa who wrote the book Whole 30!
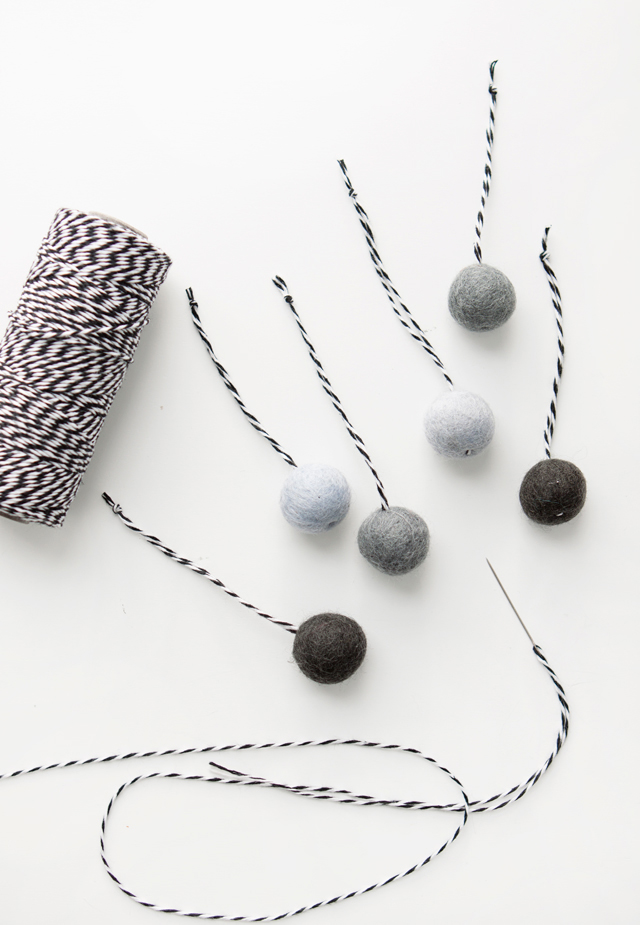
To get started you’ll need to gather a few supplies.
Materials needed:
Felt Balls- I get mine from Hello Maypole
Embroidery Needle with a sharp needle. Make sure you don’t get one with a dull end, it needs to be sharp but with the larger eye for the twine to go through. I find them in the embroidery isle. I like the size 18.
Twine- I like to use bakers twine.
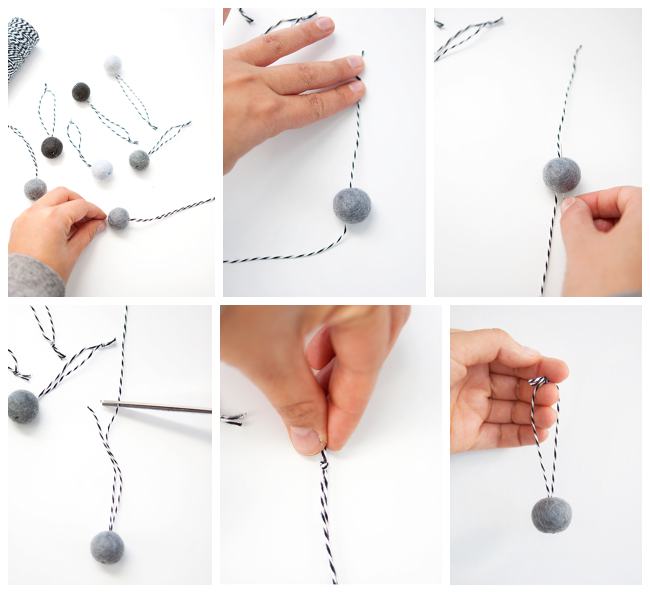
Step by Step instructions on how to make felt ball ornaments
Step One:
Thread the Twine through the needle eye. I like to cut a piece about 36 inches long.
Push the threaded needle down the middle of the felt ball and string the twine through until about 4-5 inches remain.
Step Two:
Bring the needle back around and up through the felt ball close to where the twine came out the first time.
Step Three:
Trim the twine to the size of the other twine.
Step Four:
Tie a loop knot at the end to secure the loop and complete the ornament! Repeat for more ornaments!
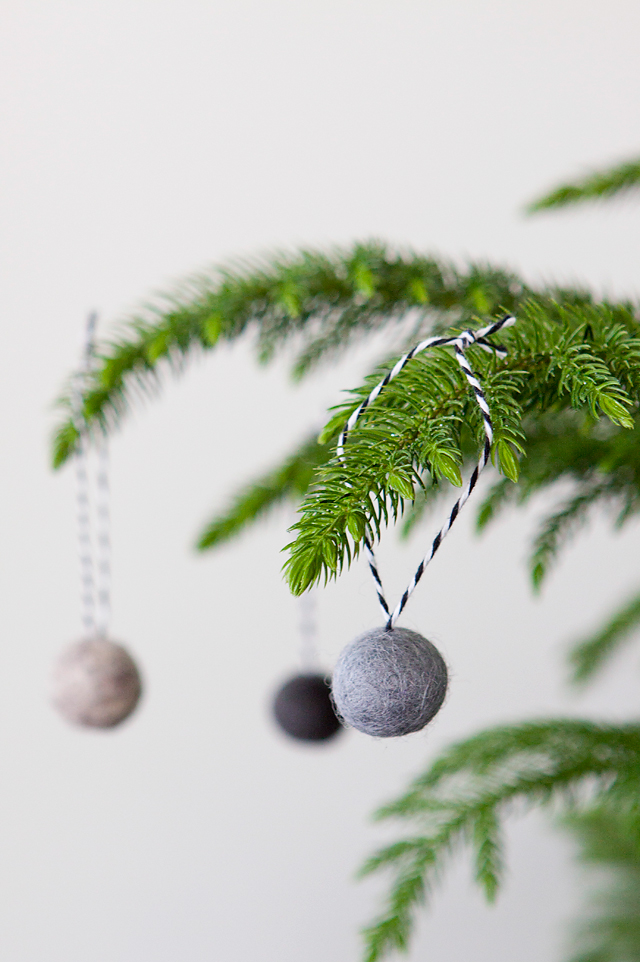
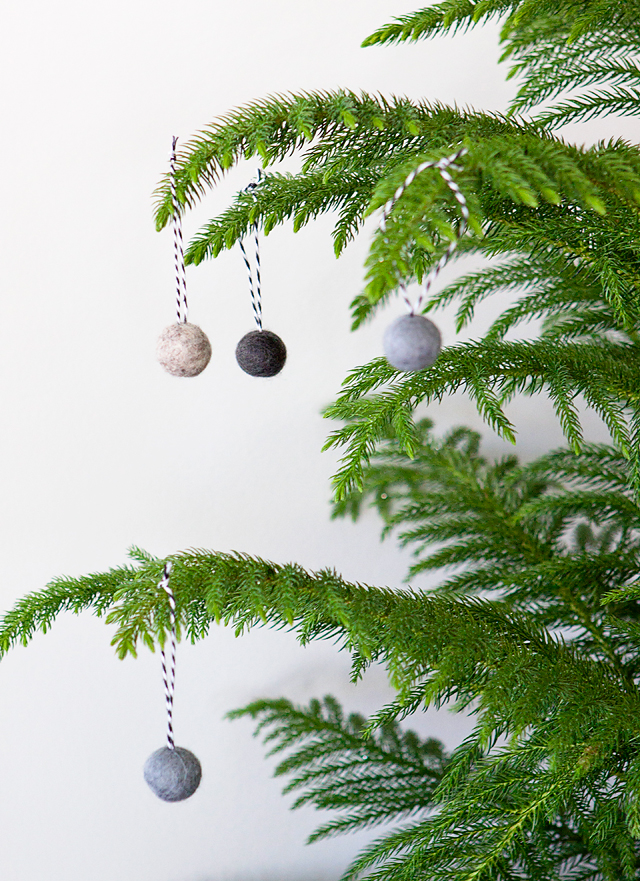
Dress up your tree, or they would even make cute gift toppers for your packaging!
{all photos be me}


Oh these are so simple and wonderful!