Category Archives: DIY

blankets for mr. thomas …

May 15, 2011

can you believe how tiny my little thomas is still?  he has the cutest little chicken legs, if i do say so.
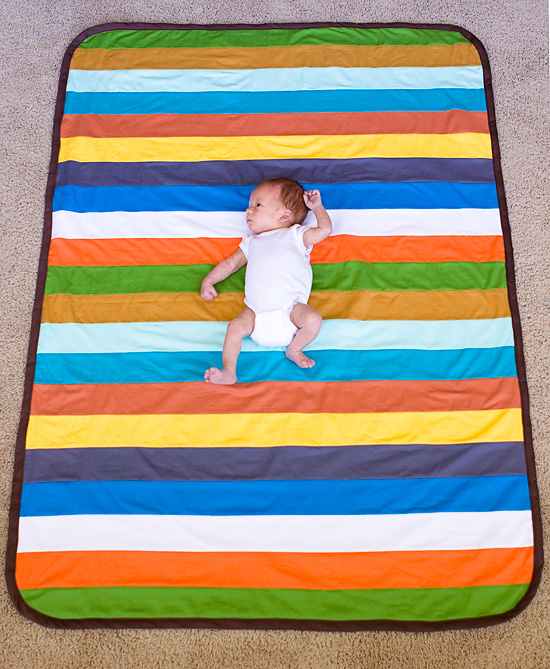
anyhow, i wanted to share a few blankets i sewed for the little guy.

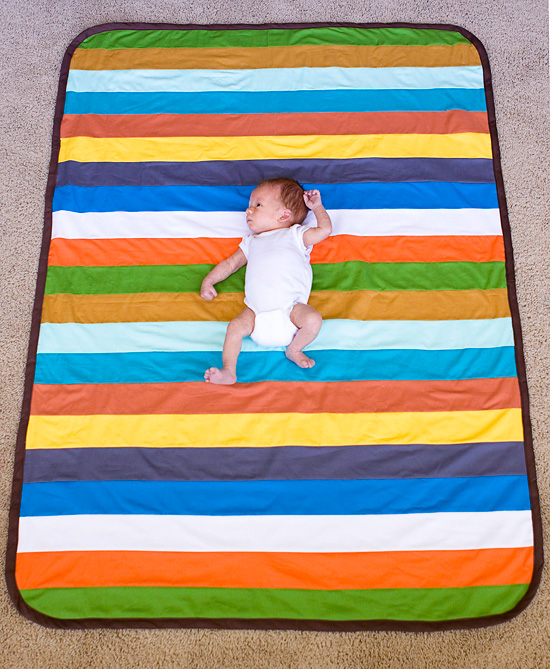
this first quilt is my absolute favorite.  i love all the colors and the stripes!  the other side is a soft white minky fabric.  my friend jessica made a darling one for her little girl after she was inspired by a cute bib from modern thread.  one of these days i’ll have to make jess post a tutorial when she’s not so busy, because they really are cute and not too hard to make.

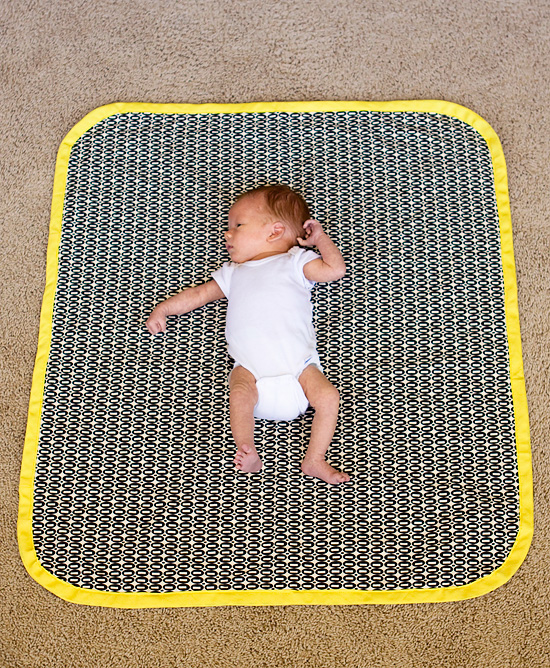
this yellow, black and white blanket i started originally for my little norah, i even bought the cutest pleated ruffle yellow trim for it.  well, it goes to show you how great i am at finishing sewing projects.  so, i finished it for mr. thomas.  it is also yellow on the other side.

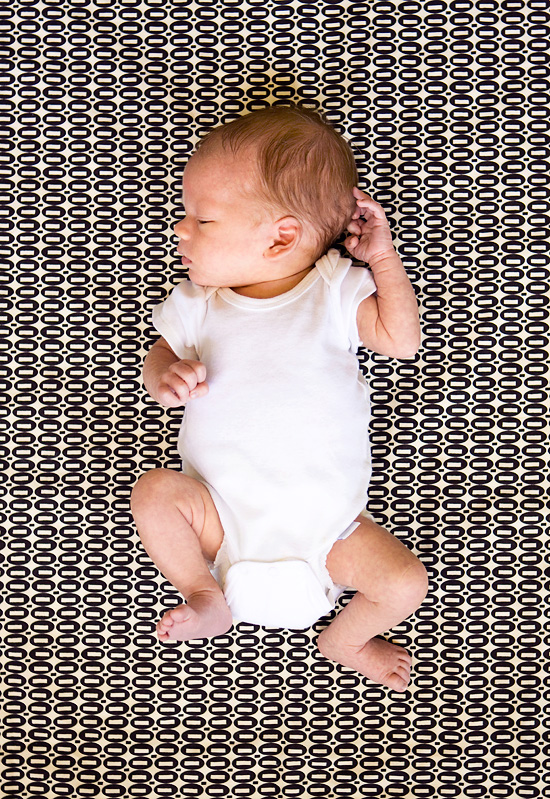
it’s also nice for taking pictures of the little peanut.

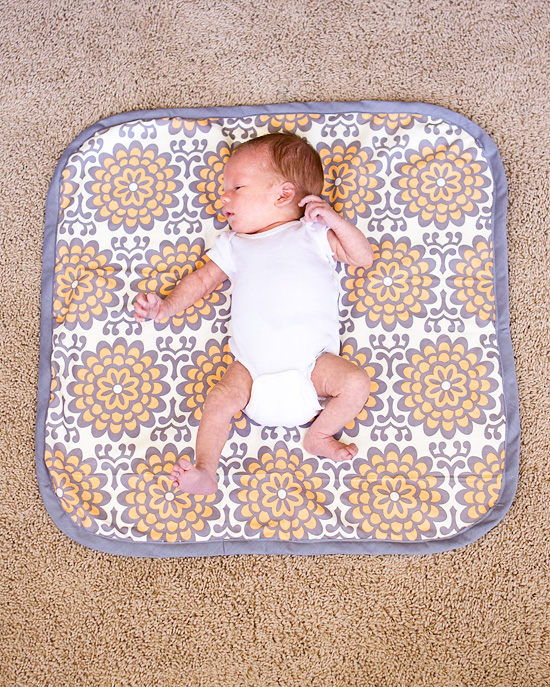
this last one i used an amy butler fabric i had lying around forever.  i made it small on purpose, it’s the perfect size for car seats.  it’s a soft off white minky fabric on the other side.

wow! i proud of myself for actually finishing a few sewing projects around here.  you’d seriously die if you saw my list of things i need to sew that i just haven’t gotten around to doing… it’s pretty sad.

felt bunting gift bag …

March 28, 2011

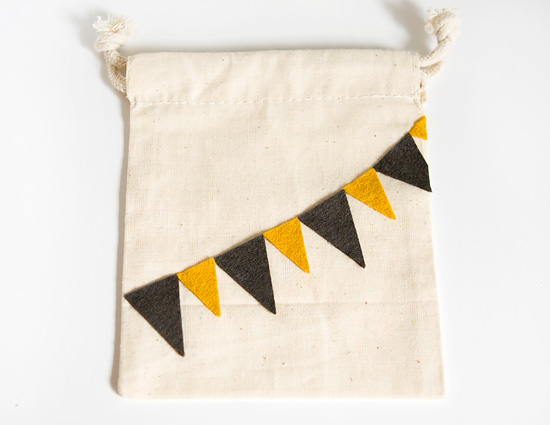
i made this cute garland / bunting gift bag with some felt, and i thought it turned out cute!
i guess i’m still not over the bunting craze.

i used the pennant die cut from lifestyle crafts to cut out my wool felt, then i just hot glued them on some canvas draw string bags.

this would make a great favor bag for a party, don’t ya think?

{image by me}

the making of a gallery wall …

March 16, 2011

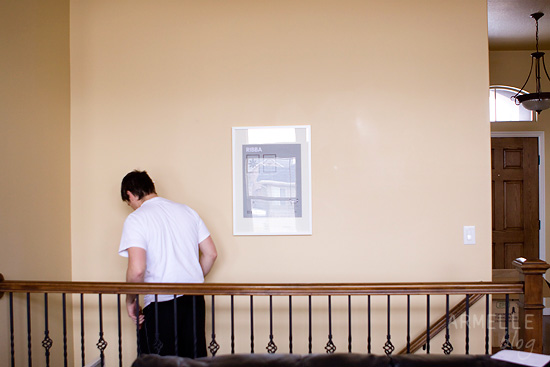
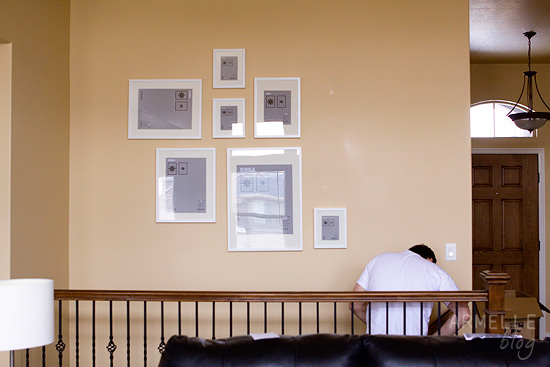
here’s a few in action shots of how we (meaning my good sport husband) put up gallery photo wall we recently put up at our house.  

now, i just need to finish filling up all my frames.  i figure we’ll add a few of the family with our new little guy set to arrive any day now.

here’s a breakdown of the frames we used and the process:
we decided on how we wanted the frames layed out, and we spaced them about three inches apart.  as you can see from the pictures, we started by hanging the largest frame that would be in the center first, and worked our way from there.  it wasn’t too hard, because a lot of the frames lined up at the top and bottom with the one next to it, so we just had to measure out three inches.  i’m sure there is an easier way to do this, but it ended up not being too bad.

we used all ikea ribba frames: (listed from small to large, 9 frames total)
the only thing i don’t like about ikea frames, is the sizes can be a little weird since they are from europe.  but, we just made it work.
here’s a breakdown of the frames you need:
(3)-  9″ x 11″ (mat fits 5×7 print), $4.99 each
(2)-  12 1/2″ x 16 1/2″ (mat fits 7 1/2″ x 9 1/2″) (i printed 8×10), $9.99 each
(3)-  15 3/4″ x 19 3/4″ (mat fits 11 1/2″ x 15 1/4″) (i printed a 16×12), $14.99 each
(1)-  19 3/4″ x 27 1/2″ (mat fits  15 1/4 x 19 3/4″), $19.99

total price for frames, about $100.00, not too bad!