

so, i finally am getting a chance around here to make a few fun christmas crafts. i’ll be sharing a few of my fun projects over the next little bit.
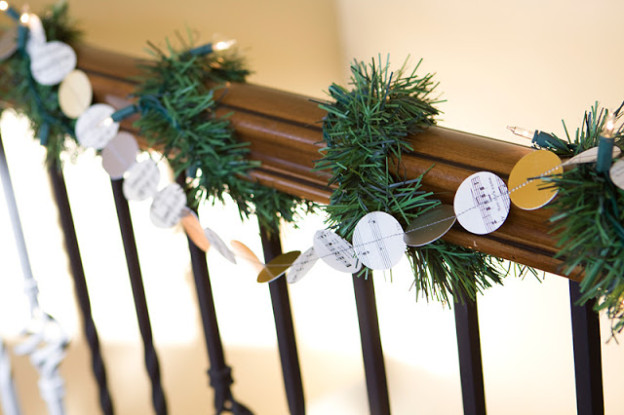
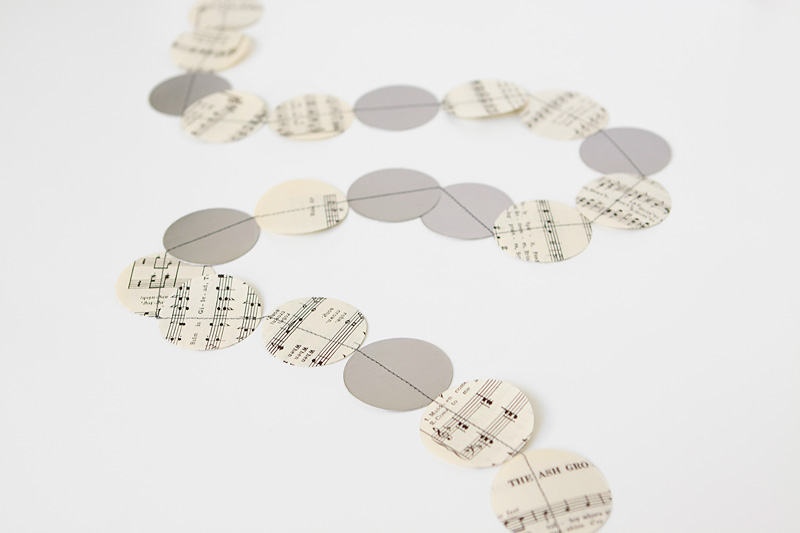
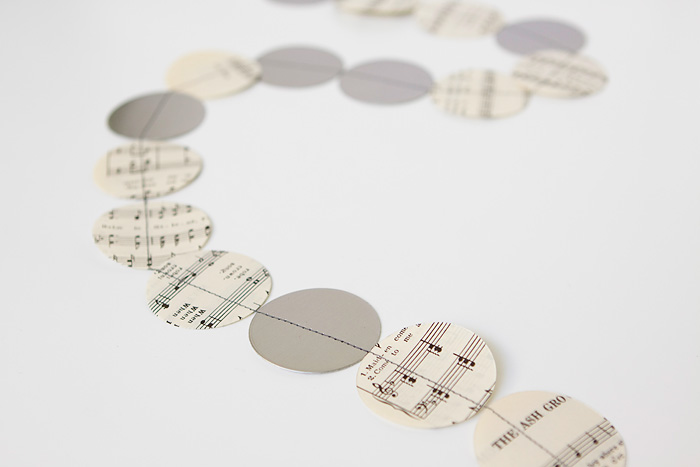
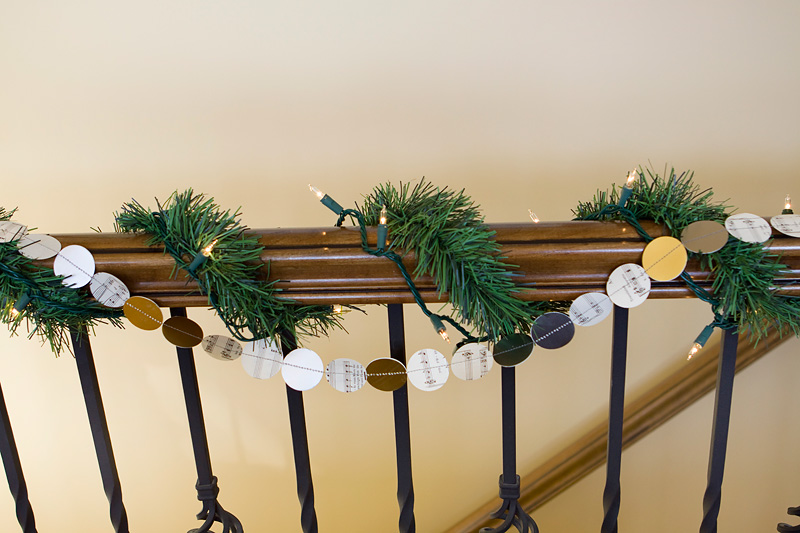
my first christmas craft i decided to make was some fun paper garland. here’s a little tutorial / DIY on how i made the christmas paper garland.
i was able to use a great new die cut machine from lifestyle crafts. i used their basic nesting circles from their new basic shapes release to cut out my paper.
i used part of my huge supply of vintage music sheets, and i also used gold and silver shiny poster board i picked up at the craft store.


and, that’s pretty much it.
just make it as short or as long as you need it!
let me know if you make one, i’d love to see it!
now, i’m off to make norah’s sweater stocking to match the rest of ours…. i never got around to making her one last year.
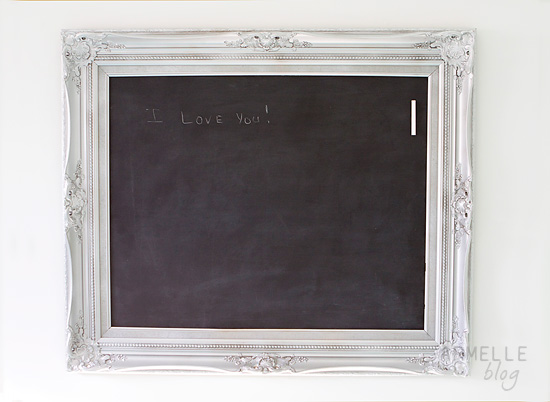
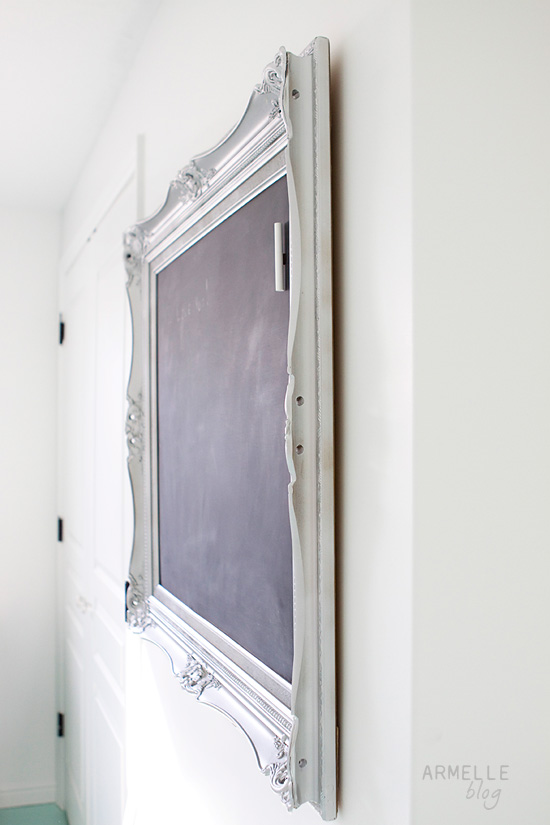
 wow! i can’t believe it’s been
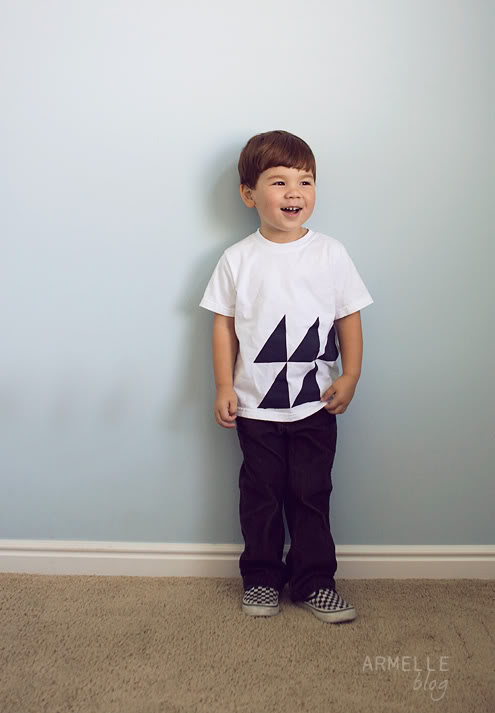
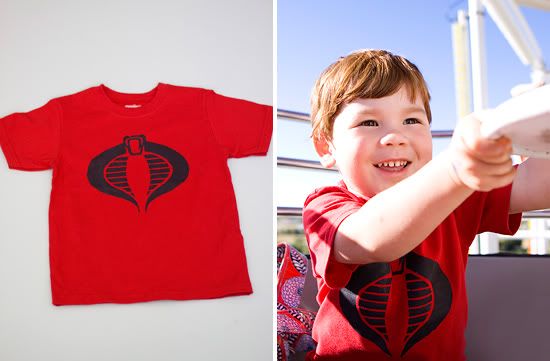
 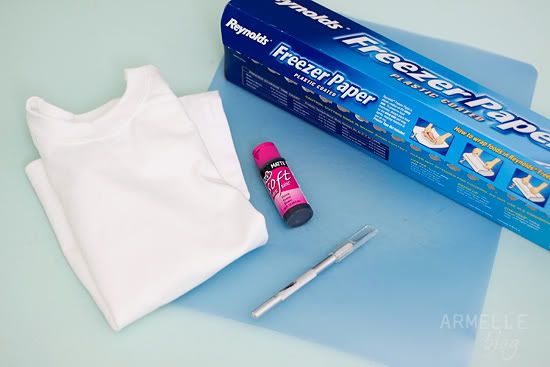 what you will need:
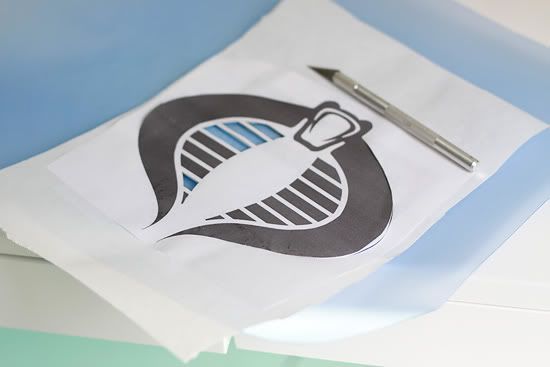 step one: place/tape pattern you would like to cut out on top of freezer paper, make sure the shiny smooth side is down [that will be ironed to the shirt later]. or, you can just draw your image on the paper side of the freezer paper.
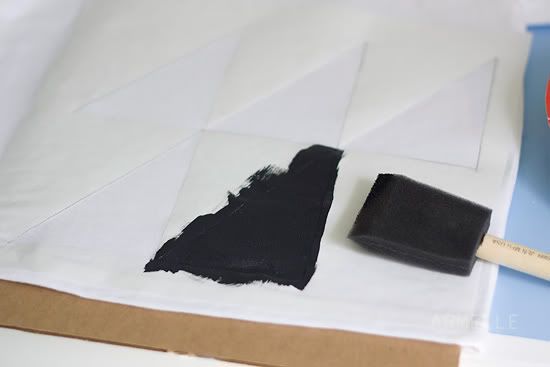
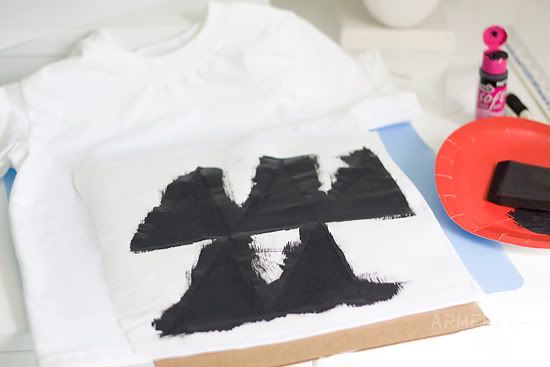 step two: using an iron on a medium setting, iron your freezer paper to your shirt where you would like your image to appear. next, paint in the open areas with paint colors of your choice. note: i liked using the foamy paint brushes the best. it is best to go up and down in a nice even coat.
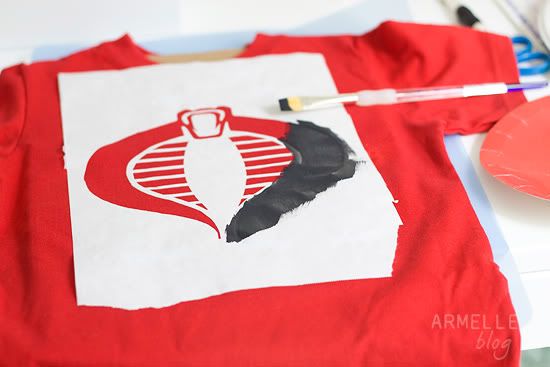 step three: this is the hardest part. don’t touch it after you’ve painted it. as much as you would like to see the finished product, you have to let it dry over night. at least 12 hours to be sure it has completely dried. next, carefully peel off the freezer paper, and voila! you have a new fun shirt!
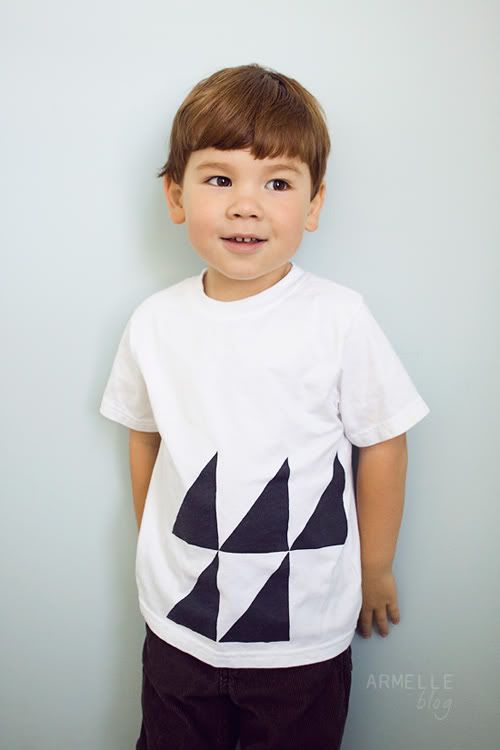
 let me know if you try this, and if you have any questions!