as you know my little thomas just turned one last week!
i am getting things ready for a little birthday party for him this week, and i thought i’d share with you some inspiration i had for the party.
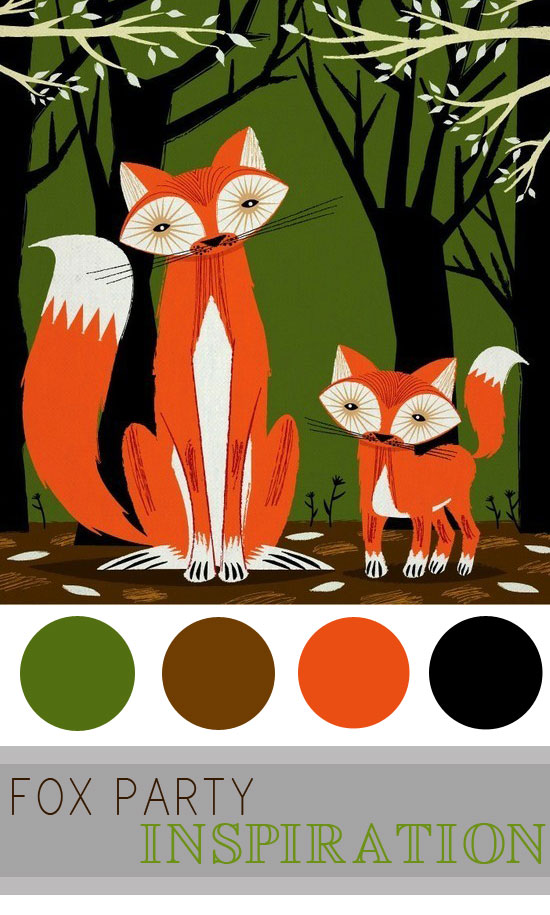
i received this darling fox print, by oliver lake when i attended alt design summit back in january (i still need to blog about that!). the minute i saw this print, the ball started rolling on color scheme, and what i wanted to do for thomas’ first birthday party. i love when inspiration hits in the most un-expected times!
i have had a lot of fun gathering green, orange, brown, black, and white supplies the last few months, so we’ll hope it all goes as planned! you can see more inspiration i’ve found around the web for the party on my foxy pinterest board.
Easter is almost here, and we love the tradition of dyeing easter eggs!
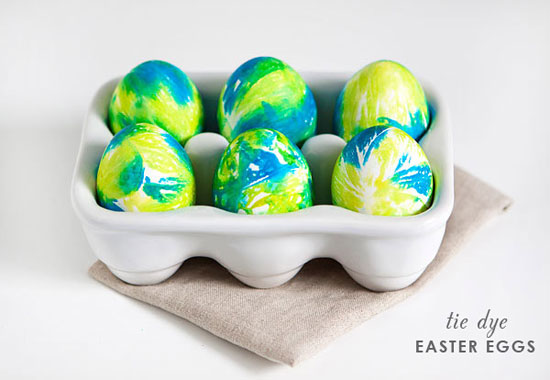
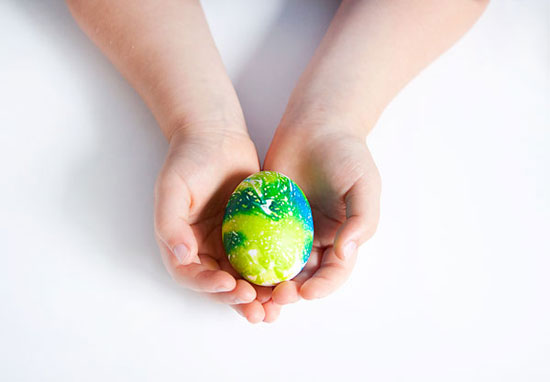
This year we wanted to do something a little different, so we decided that we would tie dye our easter eggs. It was really easy, and they turned out so great!
The process is simple enough for the little ones to help out, and it is such a fun activity for them to get involved and design their own little egg creations! Tie-dyeing Easter eggs is a unique way to bring some color to your eggs, and the results are very impressive!
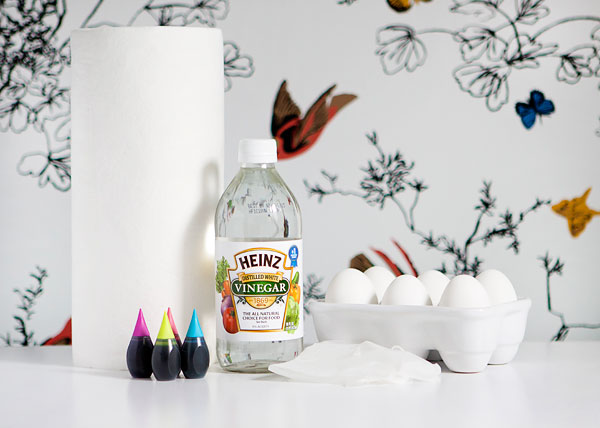
To get started you will need to gather a few supplies:
Paper towels (Viva brand works great! Very thick!)
Distilled white vinegar
Hard boiled eggs
Liquid food coloring
Latex gloves
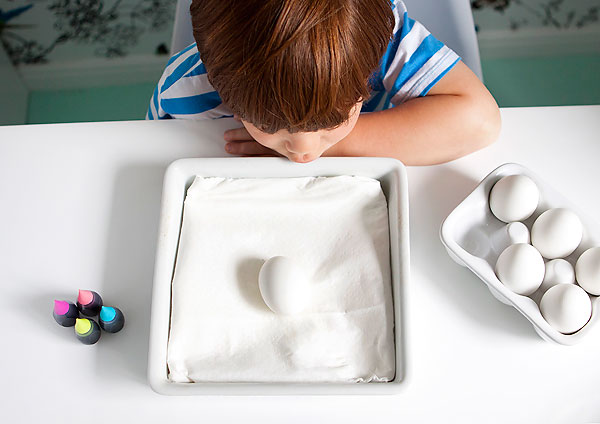
Prepare an area that can get dripped on with the dye. I found it best to line a baking dish with a few layers of paper towels.
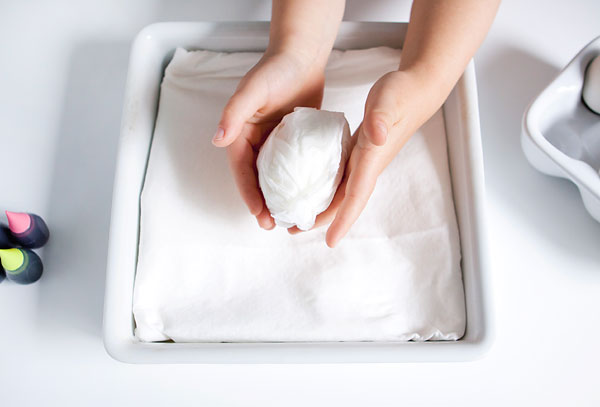
Put on your latex gloves and rip off a half sheet of paper towel, and dip it into a bowl with the white vinegar.
Squeeze off the excess vinegar, and wrap the hard boiled egg tight with the paper towel, trying to just have one layer of the towel around the egg. There will be a little extra paper towel on one side.
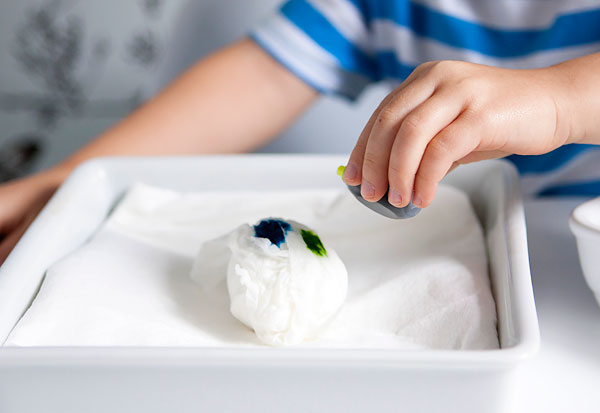
Place the wrapped egg on your prepared area and squeeze drops of food coloring around the egg, alternating colors if you wish! (This is the part that the children enjoy doing the most!)
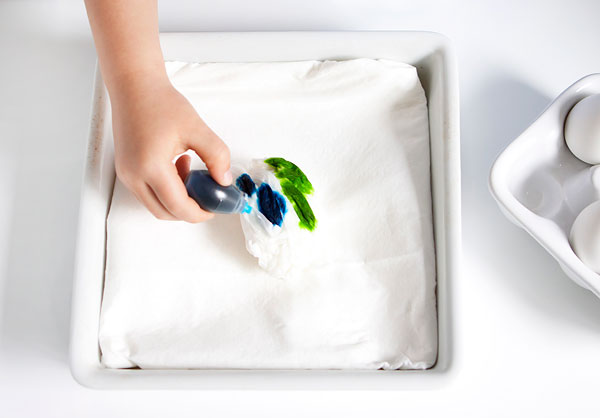
Have the person with the latex gloves on rotate the egg, and continue to place drops of the food coloring all around the egg on the paper towel. It works best if you allow the squeeze bottle tip to come in contact with the paper towel, then squeeze on the dye right into the paper towel.
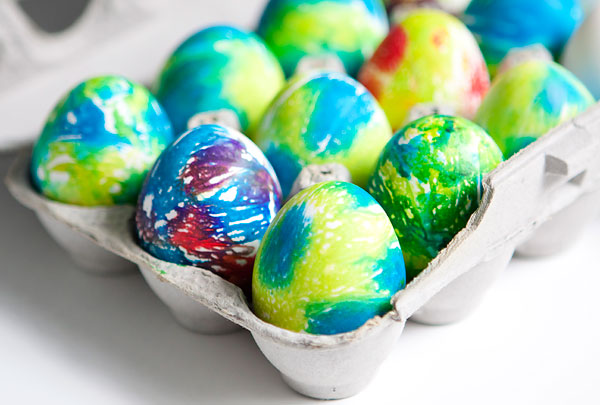
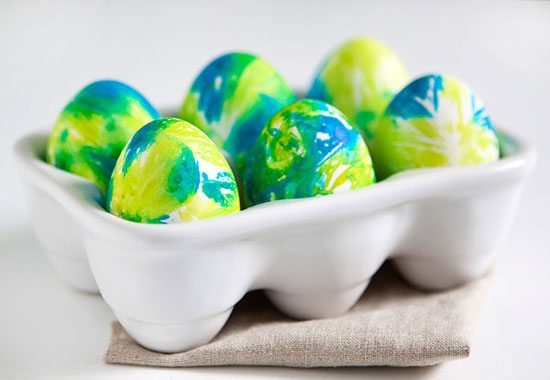
When the entire egg has been colored with the dye, have the person with the gloves on carefully unwrap the egg, and place in the egg carton to dry and admire your work!
My kids had a great time helping with the eggs, and creating their own little piece of easter egg art!
Once the eggs are completely dry, show them off, crack them open and have a snack, or hide them for the kids in your Easter egg hunt!
Hope you have a swell weekend! It would be a perfect time to dye all those eggs!
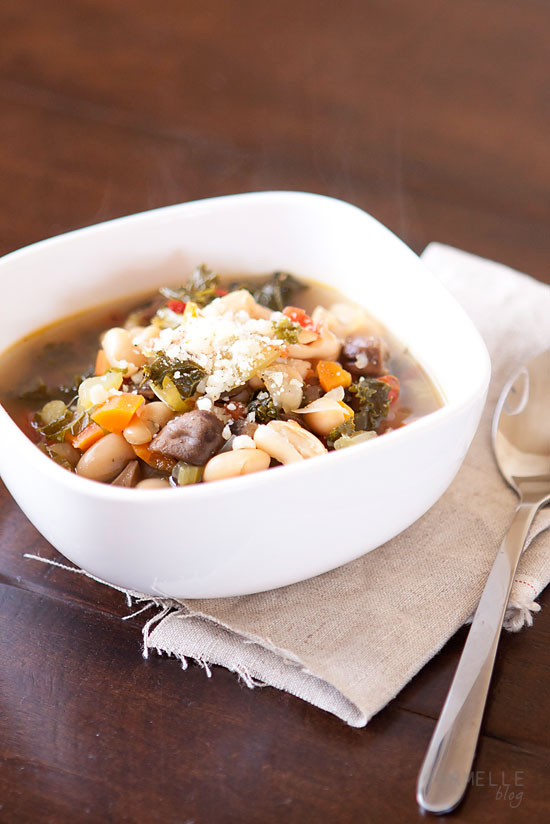
Soup is such a dinner staple at our house, and I love to come up with new combinations! On nights we don’t feel like eating meat, I love to turn to beans as a good source of protein. White beans are great in soup, and they make it very hearty, so you could easily eat this soup for dinner!
{White Bean and Vegetable Soup with Kale}
Serves 4-6
2 tbs olive oil 1 medium onion, diced 1 1/2 cups carrots, diced 1 1/2 cups mushrooms, sliced 1 cup celery, diced 2-3 cloves garlic, minced 1 1/2 cup zucchini squash, diced 2 32 oz containers of chicken or vegetable broth 4 cups kale 2 15.5 oz cans white cannelli beans, rinsed and drained 1 14.5 oz can diced tomatoes 1/2 tsp sea salt 1/4 tsp fresh ground pepper 1/2 tsp thyme
In a large stock pot heat olive oil over medium heat. Add onion, carrots, mushrooms, celery, and sauté for 10 minutes, stirring. Add garlic, and zucchini squash, and stir for another 3-5 minutes.
Add broth, along with the remaining ingredients and bring to a boil over medium high heat. Reduce the heat to medium low, and simmer for 30-45 minutes or until the vegetables are tender.