Travel // Favorite Essentials

November 13, 2015

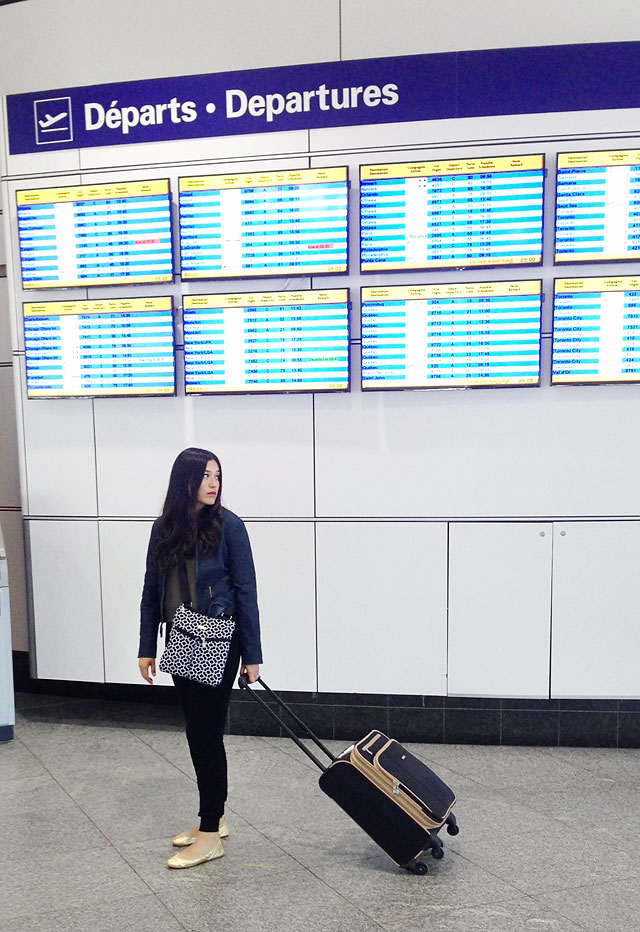
There are a few essentials that I have to have while traveling.  Over time, I’ve come to find my favorite travel outfit, and other favorite items.
For long travel days I prefer to dress comfortable.  I found these “fancy sweats” as I like to call them. They are soft and stretchy and comfortable, but also fancy enough that you don’t look like you are wearing pajamas.  They have proven to be just as comfortable as pajamas, and help during long flights or road trips.
Here’s a full list of some of my Favorite Travel Essentials: (This post contains affiliate links)
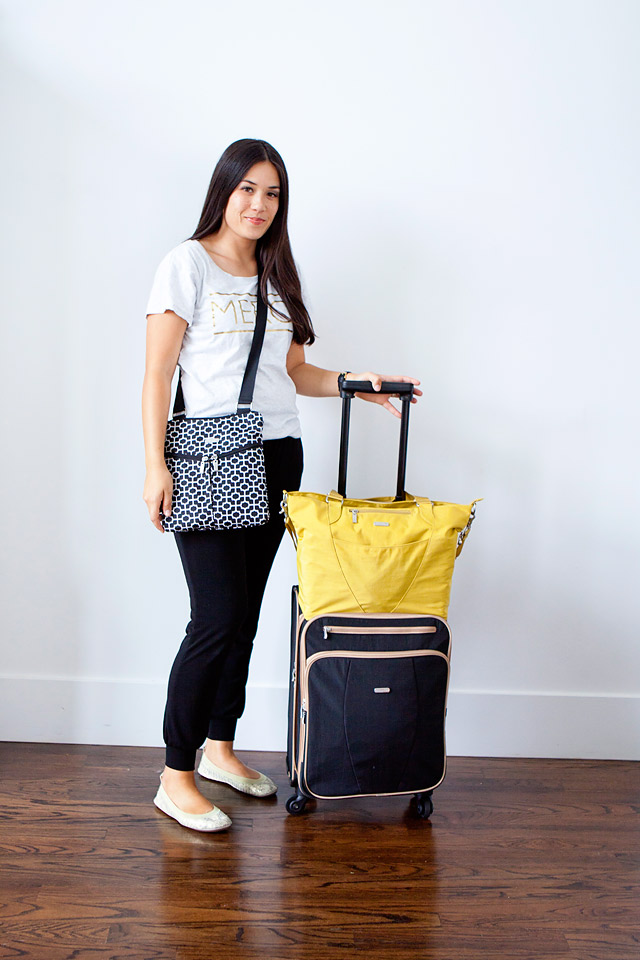
  • Baggallini getaway roller: It’s the perfect size for a carry on, and can extend to be bigger with a zipper.  The wheels move in all directions which is nice maneuver around.
  • Baggallini Avenue Tote bag:  It fits perfectly on top of the getaway roller, and has a zipper in the back to open and slide the handle of the suitcase through making it easy to maneuver in a crowded airport or train station.  
  • Baggallini Horizon Crossbody bag: Crossbody bags are essential for travel.  Being able to wear it on your body and be hands free is invaluable while traveling and managing other luggage.
  • Baggallini RFID Passport Case: A great passport holder and wallet for ID and other essentials.  I like the zipper has an attachment that you can hook inside of your bag to ensure it doesn’t get lost.
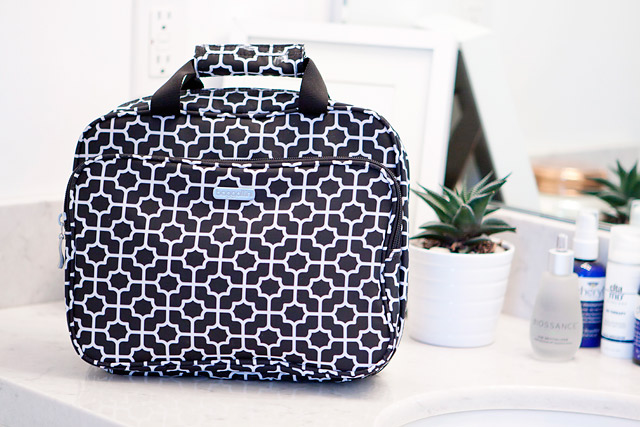
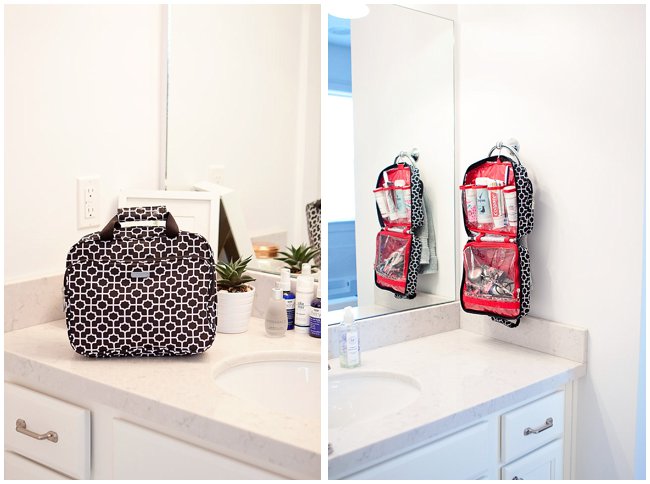
  • Baggallini Mini Complete Cosmetic Case:  This has been a lifesaver!  It is nice to be able to keep all my toiletries items together in the same case, and kept organized and clean!  The hook is very convenient when you are at a hotel and can hang your case up for easy access to your items.
  • Yosi Samra Foldable Flats: Whenever I have a long travel day, I always wear my Yosi Foldable flats.  They are super comfortable, and easy to slide on and off.  They also pack very well for travel since they fold in half.
  • Comfortable T-shirt:  The one pictured above is from Perfectly Peach
  • “Fancy Sweats”: I found these at Nordstrom Rack before our trip to Vietnam.  Shop a similar style here, here, here,  here and here.
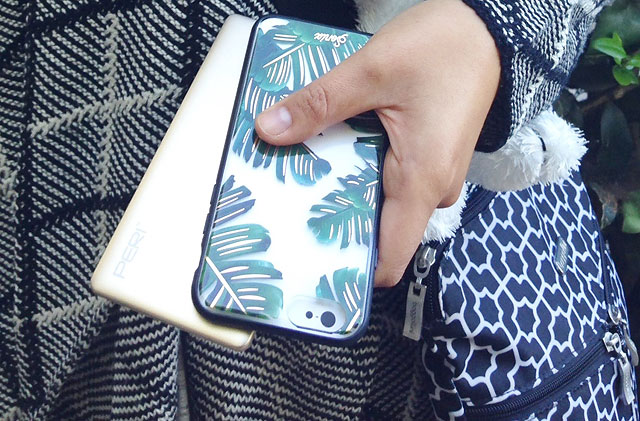
  • PERI Go Charge: Ultra Slim Portable Power Bank.  Portable On-the-Go phone charger.  This is a lifesaver while traveling.  When I travel we tend to stay out all day and am not tied to a wall charger.  However, I use my phone like crazy when I travel for maps, directions, looking up hotels, restaurants, taking pictures, social media.  My battery doesn’t last long!  I recently used the Go Charge for a day at Knotts Berry Farm with my family, and I was able to fully charge my phone twice with no problem.  It truly was a lifesaver! Use Code: ARMELLE for 30% off your PERI Go Charge good until November 20, 2015.  I am also giving away one PERI Go Charge over on my Instagram, so be sure to check it out!  Giveaway ends Friday November 20, 2015 at noon, so be sure to head on over to enter!
  • iPhone and Sonix Clear Coat iPhone case:  As I said above, I constantly use my phone while I travel, so protecting it with a good quality case is very important.  A stylish one from outfityours.com is always a bonus! Use coupon code ARMELLE to get 25% off any iPhone case on their site!  (expires December 15th 2015)

I hope this helps you find your favorite travel essentials.  I think it can really make a difference if you have the right essentials on long travel days, and during travel to make things easier and more comfortable.
Happy Travels!

Family Travel // Montmorency Falls

November 11, 2015

I’m excited to share a little more on our trip to Canada today!  Be sure to check out my last post all about Quebec City.
While visiting Quebec City, in Canada, we decided to visit some surrounding areas.  Our first stop was Montmorency Falls.  The falls were magnificent and very impressive!  It is hard to see how large they are from the pictures, but they are stunning and fall from 272 feet, that’s 99 feet higher than Niagara Falls if you need a reference!
My Outfit Details (affiliate links used)
H&M Sweater (similar)
Sunglasses: Glasses USA (similar)
Norah’s Outfit
Ezra
Sweater- Nununu
Thomas
My little adventure crew was very serious about our explorations.  Always consulting the maps and planning our routes.  
They took us on the bridge over the falls for a breathtaking view, then through the park and down the large set of over 400 stairs.  My little crew, as you can see in the photo above conquered all the stairs and stood at the feet of the beautiful falls.  Mom was a little wiser knowing what goes down must come up, so I watched from the stairs while they got soaked in the falls, and loved every minute of it!
Here are a few things you may want to know before visiting Montmerency Falls Park.
Montmorency Falls Park: Visitor Info
Time: You’ll want to spend at least 2 hours there.  
Where to Park:  We parked at the top at the Manoir Montmorency Restaurants.  There is a parking fee, but it has a nice entrance to the top of the falls and the bridge.  You can also walk around at the park, and you don’t have to go to the bottom of the falls if you choose not to.
Open: Grounds open daily year round.  Closed December 24, 25.
Website:  Montmorency Falls Park (in French)
Tips: Packing a picnic and staying a while would be a good idea!  They have beautiful grounds, parks, picnic tables, and play areas/ playgrounds for children.  Strollers may not be a good idea if you are planning on going down any of the stairs to view the waterfalls better.  There are paved trails, and the bridge that would be stroller friendly.  
If you are ever in the Quebec city area, I strongly suggest to go!  It was a very beautiful and the grounds were very nice to explore!  The kids loved it!
Be sure not to miss our tour of Quebec City with recommendations on our favorite sites to see, click here.  Happy Travels!
See more of our Family Travels here.
And, as always, thanks for following along on our adventures!

How To // Hang Christmas Wreaths on Outdoor Windows

November 10, 2015

Christmas Wreath Holiday Window
This post contains Affiliate Links
I always knew that our home would look amazing with Christmas wreaths in the windows.  But, last year being my first year to hang them, I was left scratching my head wondering exactly how I was going to securely hang them.
command strips
After asking around, and googling “How to Hang Wreaths on Outdoor Windows.”  I found some ideas, but none of them seemed like simple ideas that actually worked.  When I was wondering around the Home Depot, I found these Command Brand Strips that are made especially for the outdoors, and especially for windows.  Finally, an easy solution that isn’t permanent and really worked!  If you follow my step by step, the hooks will stay on no problem!
holiday wreath pine wreath red bow
This is what you will need to hang Christmas wreaths on your windows: (affiliate links used)

Shop the supplies:

step by step instructions on how to hang wreaths on windows
Step One
Clean your windows well.  Take the Rubbing alcohol and put some on a cloth or paper towel.  Rub around the entire area where you will hang your hook.  You will want to do this when the temperatures are not freezing!  Read the package instructions throughly.
Step Two
Remove the black and white liner side that says window or wall side and apply it to the window where you would like your hook to hang.  Press the entire strip for a full 30 seconds pressing up and down on the strip. (be sure to place the hook in the same area on each window so they are uniform)
Step Three
Remove the blue liner.  Press the hook to the wall stripe and hold firmly for 30 seconds.
Step Four
Wait at least one hour before hanging anything on the hook.  This is a very important step.  The adhesive needs time to bond or it will not hold the weight of the wreaths.  I try to wait at least 24 hours to ensure the hooks are on well before hanging anything heavy on them.
Step Five
Hang the wreaths on the hooks.  You can also us some string to tie them more securely to the hook if you experience a lot of wind in your area.
Step Six
When you would like to remove the hook, stretch the strip slowly against the window at least 12 inches to release it.  Always pull straight down not towards you or it will break!
Pretty simple, and it doesn’t damage your windows.  They hold up very nicely in the wind as well.  With the kind of wreaths I had they have wire as the base and were able to hook on nicely.  They stayed put really well.  I think one may have fallen off in some really high winds, but that was it!  My hooks always stay on because I have carefully prepared my windows, and made sure to buy the hooks that are specially made for the outdoors!
The command strips are very easy to remove and made it really easy to make my home festive for the holidays.
I loved how it looked on Christmas morning in the snow! My family during our magical snow storm on Christmas morning 2014!
Colonial Christmas House
I hope this helps if you are looking to hang holiday wreaths on your windows this year!
Can you believe Christmas is just around the corner?!
{all photos by me}