happy packaging …

July 8, 2013

This happy packaging idea is brought to you by Vistaprints.  Find great deals on Vistaprint products, including coupon discounts, and shipping deals over on the Vistaprints deals page!

 I love a good package, they make me happy!  One of my very favorite things in the world is packaging items, especially paper!  Bags, envelopes, tags, twine, labels, you name it.  Have I ever told you that I’ve always dreamed of opening a fun paper goods packaging shop? That’s probably for another day.

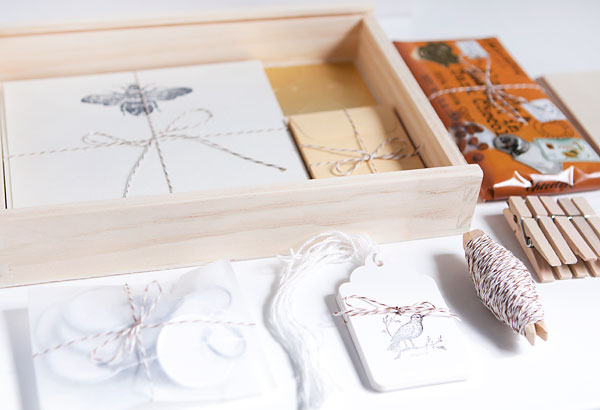
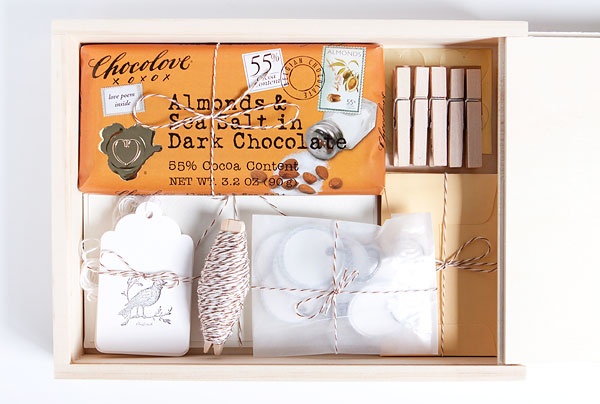
A while back, I put together a little package of all my favorite packaging goodies for a friend, and when I was putting it together it made me so happy that I had to snap a few pictures!

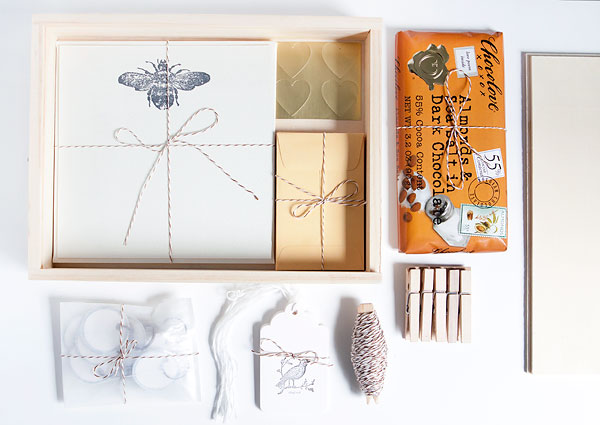
Of course I had to throw in a chocolate bar for good measure!  Because, who doesn’t love chocolate!

To put together this package, I used:
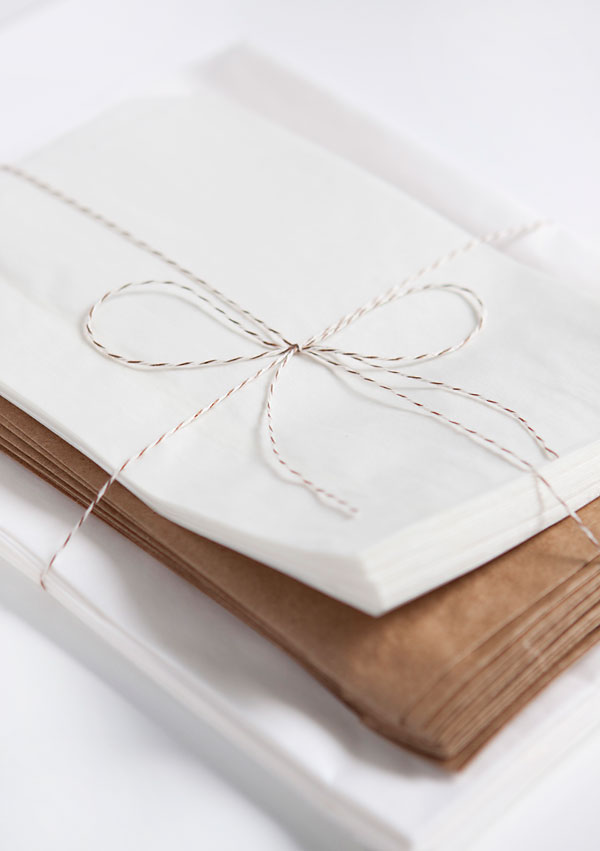
Glassine bags
Wooden cigar box
Paper tags
Bakers twine
Brown paper bags
Mini clothes pin
Coin envelopes

Recipe: panna cotta

July 4, 2013

Happy 4th of July!  We hope you are all enjoying celebrating with those you love!  I wanted to share a fun red, white, and blue dessert with you on a special day!
Panna cotta in Italian means “cooked cream.”  This is such a simple dessert that includes cream, sugar, and vanilla simmered gently and thickened with gelatin, giving it a smooth and creamy texture. Panna cotta can be paired with berries, drizzled with a sweet sauce, or even drizzled with a little balsamic vinegar and olive oil with a little sprinkle of sea salt.
{Panna Cotta with Berries}
Serves 8
Panna Cotta
1 quart heavy cream
1/2 cup sugar
1 tablespoon vanilla bean paste
2 1/4 teaspoons (1 packet) unflavored powdered gelatin
3 tablespoons water
In a medium saucepan over medium heat, combine the cream, sugar, vanilla paste and bring it to a simmer.
Meanwhile, in a small bowl, sprinkle the gelatin over the water and let stand until it “blooms,” or becomes evenly moistened, about 4-5 minutes.
Remove the cream mixture from the heat, add the gelatin and stir until completely dissolved.
Pour the panna cotta mixture into eight, 4-ounce ramekins and let cool to room temperature. Cover with plastic wrap and refrigerate until the panna cotta is set but still jiggles, about 3 hours.
To serve: run a knife around the edge of the ramekin and invert it onto a plate to remove the panna cotta from the ramekin.  Arrange some berries around the plate and serve immediately.
Enjoy!

DIY // duct tape uncle sam hat

July 3, 2013

With the 4th of July right around the corner, we decided it would be fun to make some patriotic Uncle Sam hats using Duct tape and things we had around the house!
Even though you can buy them at the store, we thought it would be a fun activity to make them at home, and they were actually pretty fun to make, and didn’t take a lot of time!
You’ll need to gather a few supplies:
1) Recycled containers or cardboard to make your hat with.
2) Red, white, and blue duct tape
3) Pencil
4) Exacto knife
5) Scissors
6) White paper plate
7) Star template (or you can just free hand it)
8) Self healing cutting mat
Step One
Make your hat using recycled cardboard, or a cylinder type of container.  Use duct tape to start making the stripes. Start at the bottom and go to the top and trim off the excess.
Step Two
Use red and white duct tape to alternate the stripes up the hat.
Step Three
Continue around the hat with the red and white stripes
Step Four
After completing the stripes, line the top with red duct tape and trim off any excess.
Step Five
Wrap the base of the hat using white duct tape around the bottom.
Step Six
Lay out some blue duct tape sticky side down onto your self healing cutting mat.  Place some print outs of stars on top, and cut line them up and cut through them to the duct tape to cut out a star shape.
Step Seven
Using the exacto knife to carefully peel back the cut out stars.
Step Eight
Carefully peel back the duct tape with star shapes cut out in the center and line them around the bottom of the hat.
Step Nine
Place the top of the hat on top of the white paper plate and trace around the white paper plate.
Step Ten
Cut out the circle in the middle of the plate that you traced.
Step Eleven
Slide the white paper plate brim over the top of the hat.
Try it on your little patriotic sweethearts. And they can celebrate Independence Day in style!