Tag Archives: Tutorial

DIY // Jedi Halloween Costume Tutorial

October 27, 2015

Star Wars Halloween Costume
I realized that over the years we have been able to pull off some pretty fun Halloween costumes for the kids, but as things get so busy around holidays with kids I haven’t had a chance to share a lot of them.
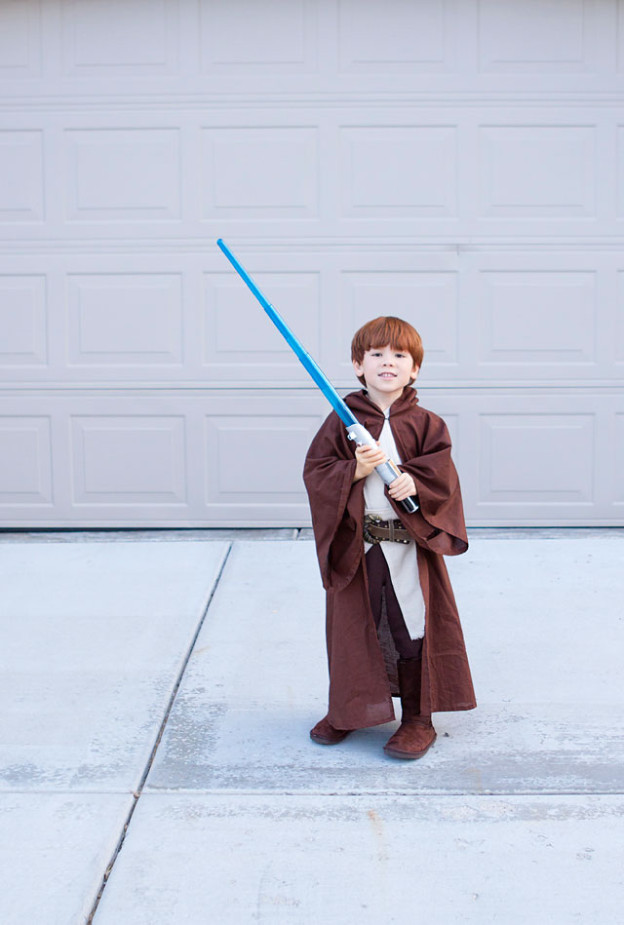
So, here it is, circa 2012 our little Jedi’s.  I can’t get over how little and cute my little Thomas was.  He was only 18 months old at the time.  What a cute little Jedi!
How to make a Jedi Costume
Jedi Costume Luke Skywalker
How to make a kids Jedi Costume
How to make a Jedi Costume
DIY Jedi Costumes- You will need: (affiliate links used)
  • Brown Pants (thrifted)
  • Brown Shirt 
  • Brown Leather Belt with buckle (thrifted)
  • Brown Boots (we borrowed our nieces brown Uggs, and had the other pair)
  • Light Sabers (we had, Tommy’s we picked up from the Dollar store)
  • Brown Robe (DIY) – see below
  • White Tunics (DIY) – see below
Jedi DIY Halloween Costume
For the Brown Jedi Robe, I was able to make them fairly easy using these Jedi Robe and Tunic instructions I found.  I laid a large piece of brown fabric on the ground, then folded over double on it’s self.  I had my kids lay down to see how long it would need to be.  I think I went pretty big on the hood so it would fit over their heads, and be large and wide when it laid on their backs.
The white tunics were pretty easy to replicate (instructions also in this tutorial) with some cream linen type fabric that we just criss crossed and safety pinned in the back and top, then placed the belt over the top to hold it in place.
The sewing part wasn’t too bad!  Just have to be able to sew in straight line for the most part!
Luke Skywalker Costume
And, voila!  A DIY homemade Jedi Halloween Costume!  My favorite costumes are the DIY/ Homemade ones!  It’s fun to get creative with a lot of items you already have!
And, weren’t my little Jedi’s so adorable?!  They loved being Obi-Wan Kenobi and Luke Skywalker, or Anakin.  I can’t totally remember!  Ha!

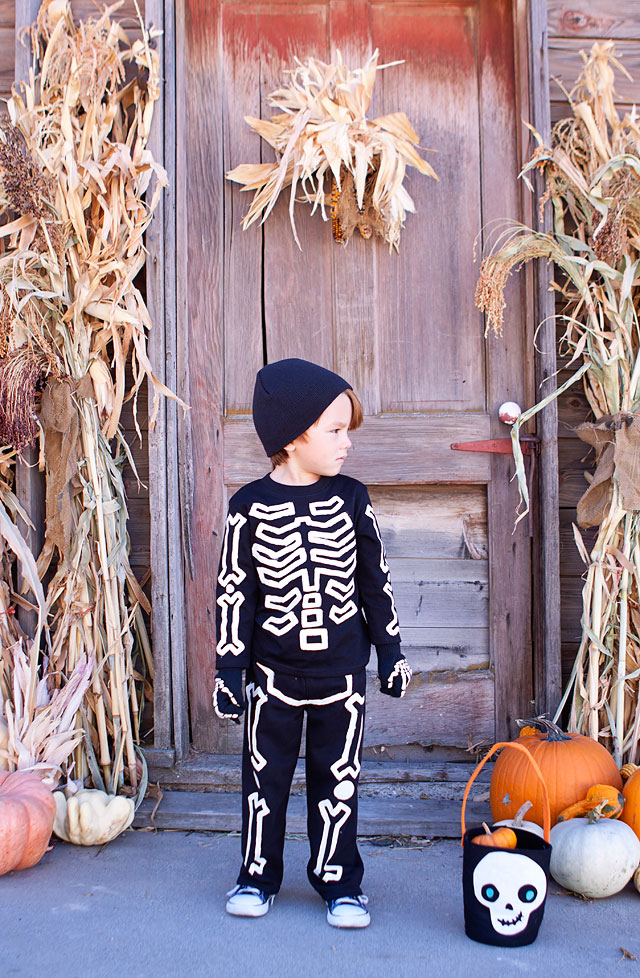
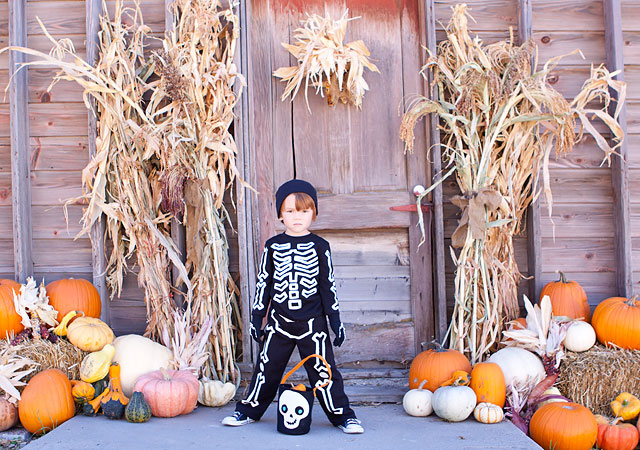
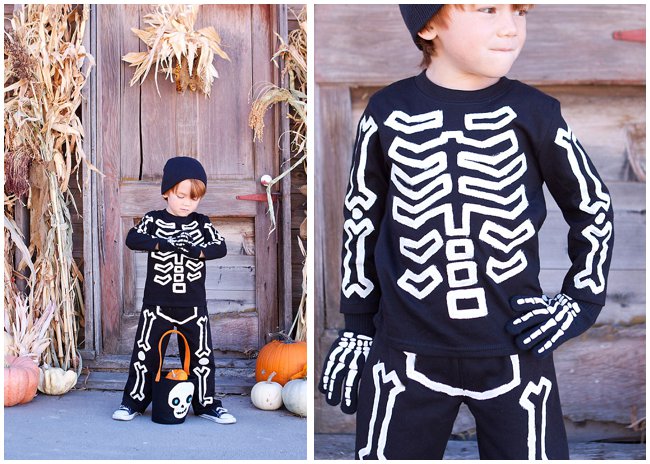
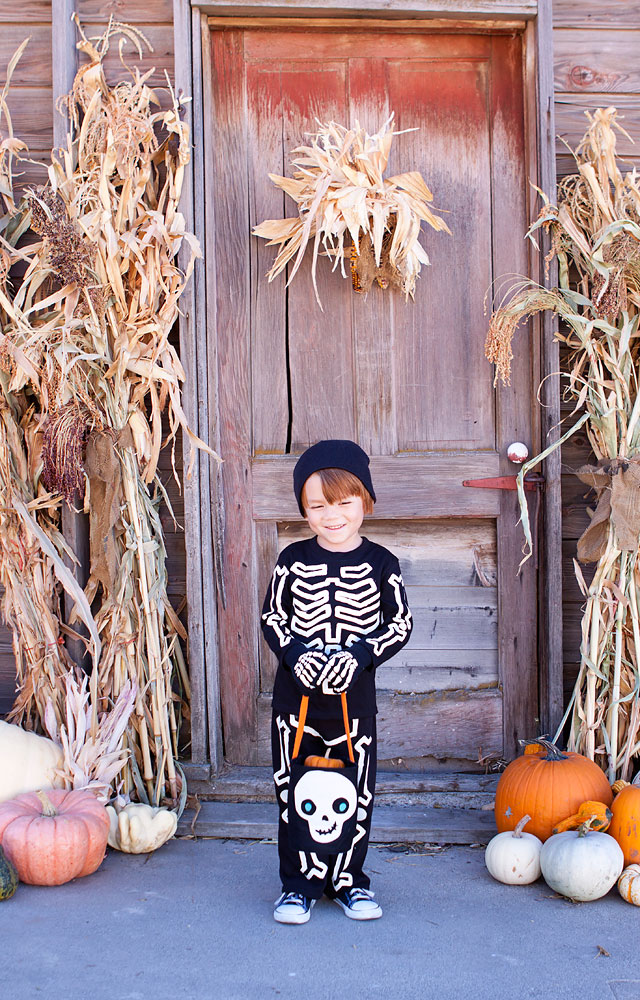
So, what are your plans for your kids this Halloween?  I think this year we will have two skeletons, and Princess Anna.

Be sure to check back all week, I’ll be sharing some great blast from the past Halloween costumes my kids have worn over the years.  So, if you are in need of a last minute DIY costume, I’ve got your back!

{all photos by me}

DIY // Glow in the Dark Skeleton Costume Tutorial

October 20, 2015

We are getting ready for Halloween over at our house, and when I asked my four year old what he would like to be for Halloween this year, he immediately replied, “A Skeleton!!”  I was happy to oblige!  I just love a classic Halloween Costume!
I’m the type of mom that loves a good DIY project, and while I know you can purchase a skeleton costume, a handmade touch to my kids’ costumes is always SO much fun for me!  I love that you can add a little bit of a unique touch with a few modern looking skeleton bones, and my kids get so excited to help with the project!  It only took me about an hour or so start to finish to get a cute homemade Skeleton costume!
I found a black top and bottom at Walmart for only $3.88 each, and I bought some Tulip Fabric Paint in white and glow in the dark (affiliate)!  A pretty cute costume to put together for around $20 or less!
For the full step by step instructions and skeleton bone templates, be sure to head on over to HelloBee where I am sharing this full tutorial!
My little guy couldn’t be more excited for Halloween!  He thinks his costume is just the coolest, and he has told me so several times!  That made it all worth it!
He was also so thrilled that it actually glowed in the dark!  I think he’s going to scare a lot of people this Halloween!  Wink.
I added a black beanie and skeleton gloves (You could totally DIY black gloves with the fabric paint) that I found in a set at Walmart, and his classic Chuck Taylor Converse shoes!  You can also paint their face to look like a fun skeleton!
Happy Haunting!  And, Happy DIY Halloween!
Full DIY step by step post over on HelloBee.
{all photos by me}

DIY // felt ball ornaments

December 9, 2014

felt ball ornaments christmas ornaments
I’m excited to share with you this fun felt ball ornament tutorial.
I was able to teach a class this month over at Albion Fit.  We had a fun evening of crafting and amazing cuisine by Food by Tom.  It was the perfect combination! (My outfit is from Tai Pan Trading)
We had some amazing people attend the event, it was so fun to chat and get to know some amazing ladies!  I met so many creative ladies, and even a professional mountain biker, and even Melissa who wrote the book Whole 30!
felt ball ornaments christmas ornaments
To get started you’ll need to gather a few supplies.
Materials needed:
Felt Balls- I get mine from Hello Maypole
Embroidery Needle with a sharp needle.  Make sure you don’t get one with a dull end, it needs to be sharp but with the larger eye for the twine to go through.  I find them in the embroidery isle. I like the size 18.
Twine- I like to use bakers twine.
felt ball ornaments christmas ornaments
Step by Step instructions on how to make felt ball ornaments
Step One:
Thread the Twine through the needle eye.  I like to cut a piece about 36 inches long.
Push the threaded needle down the middle of the felt ball and string the twine through until about 4-5 inches remain. 
Step Two:
Bring the needle back around and up through the felt ball close to where the twine came out the first time.
Step Three:
Trim the twine to the size of the other twine.
Step Four:
Tie a loop knot at the end to secure the loop and complete the ornament! Repeat for more ornaments!
felt ball ornaments christmas ornaments
Dress up your tree, or they would even make cute gift toppers for your packaging!
{all photos be me}