i am re-posting my mini-pumpkin wreath tutorial from a few years back, because i got a lot of inquiries from you about fall wreath ideas. i still need to get one together for this year… i haven’t come up with any ideas yet, hopefully soon.’til then. this was a fun wreath i did a few years ago. and, yes. those are real mini-pumpkins.here are the instructions:
supplies mini pumpkins [enough fill your wreath] wire wreath from craft store [found near flower supplies] ribbon hot glue gun/glue
directions i basically just wrapped ribbon around the wire frame and glued in in place. then, i hot glued each pumpkin one by one around it. tied a ribbon around the top to hang it from.
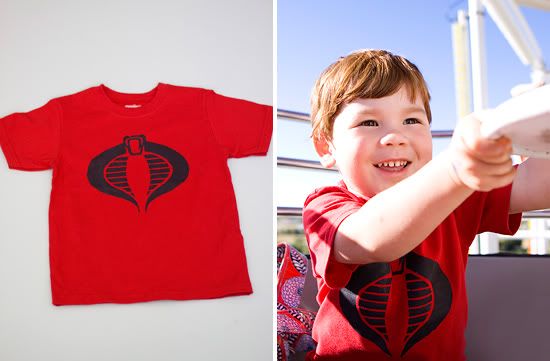
wow! i can’t believe it’s been two and half years since i’ve made any freezer paper stencil shirts. they really are so easy to make, and fun! i actually found myself in my studio with some free time on my hands. sadly, this hasn’t been the case around my house lately. so, i decided to take advantage and make a few shirts for ezra that i’ve had planned to make him for a while.doesn’t my little ezra look handsome in his new shirt we made? he was thrilled to help paint his new shirts, and has been proudly showing them to everyone.here’s a little DIY, in case you aren’t familiar with making freezer paper stencils.what you will need: -freezer paper -plain shirt -exacto knife -cutting board -pattern or picture you would like on your shirt -fabric paint, found at any local craft store -cardboard- to put inside the shirt when paintingstep one: place/tape pattern you would like to cut out on top of freezer paper, make sure the shiny smooth side is down [that will be ironed to the shirt later]. or, you can just draw your image on the paper side of the freezer paper. cut the image out with an exacto knife on a cutting board. note: the parts that will be painted is what you cut out.step two: using an iron on a medium setting, iron your freezer paper to your shirt where you would like your image to appear. next, paint in the open areas with paint colors of your choice. note: i liked using the foamy paint brushes the best. it is best to go up and down in a nice even coat.step three: this is the hardest part. don’t touch it after you’ve painted it. as much as you would like to see the finished product, you have to let it dry over night. at least 12 hours to be sure it has completely dried. next, carefully peel off the freezer paper, and voila! you have a new fun shirt!let me know if you try this, and if you have any questions!

 i am re-posting my mini-pumpkin wreath tutorial from a few years back, because i got a lot of inquiries from you about fall wreath ideas. i still need to get one together for this year… i haven’t come up with any ideas yet, hopefully soon.’til then. this was a fun wreath i did a few years ago. and, yes. those are real mini-pumpkins.here are the instructions: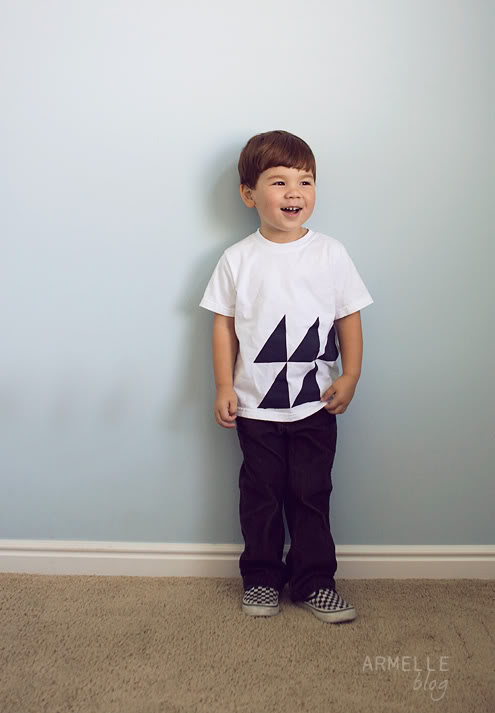
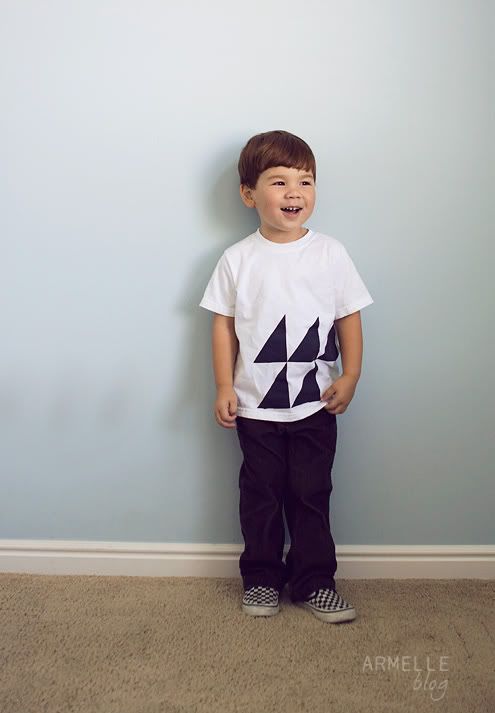 wow! i can’t believe it’s been
 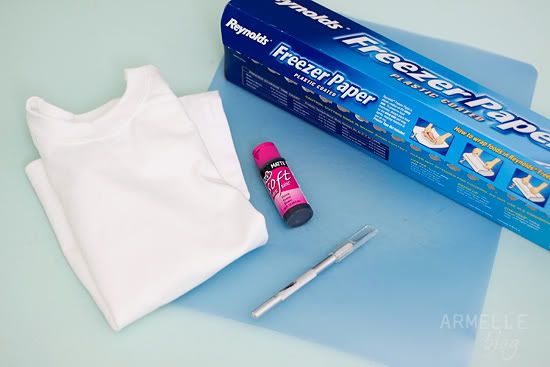 what you will need:
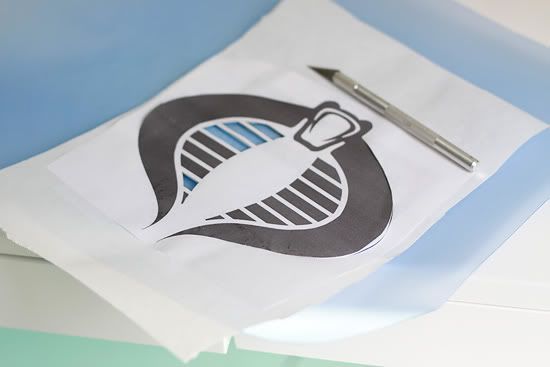 step one: place/tape pattern you would like to cut out on top of freezer paper, make sure the shiny smooth side is down [that will be ironed to the shirt later]. or, you can just draw your image on the paper side of the freezer paper.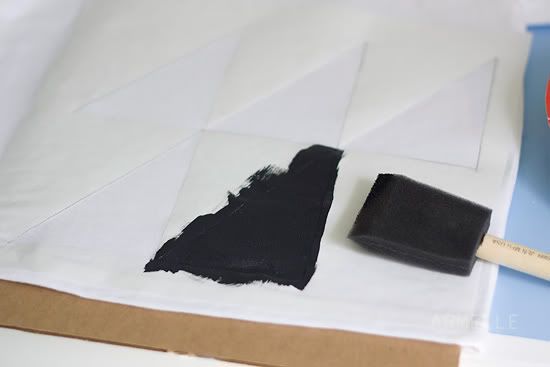
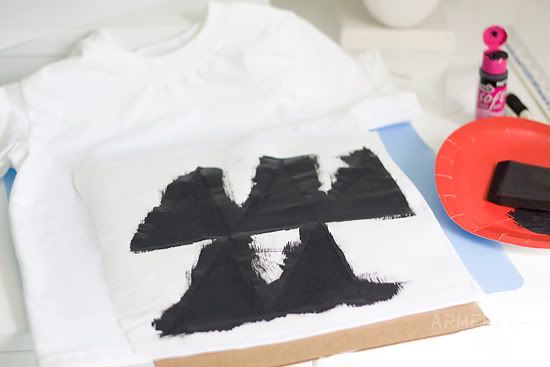 step two: using an iron on a medium setting, iron your freezer paper to your shirt where you would like your image to appear. next, paint in the open areas with paint colors of your choice. note: i liked using the foamy paint brushes the best. it is best to go up and down in a nice even coat.
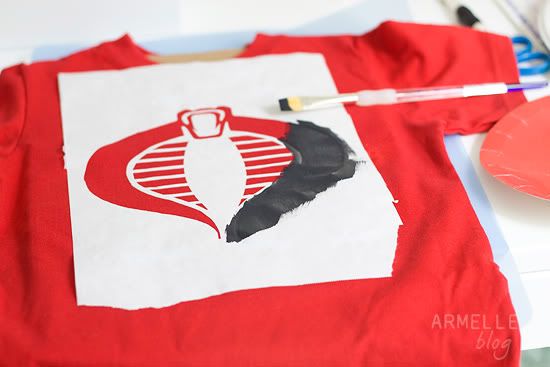 step three: this is the hardest part. don’t touch it after you’ve painted it. as much as you would like to see the finished product, you have to let it dry over night. at least 12 hours to be sure it has completely dried. next, carefully peel off the freezer paper, and voila! you have a new fun shirt!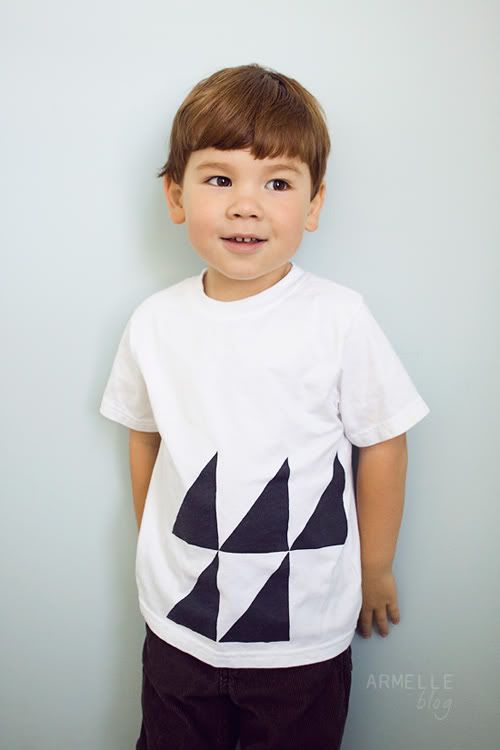
 let me know if you try this, and if you have any questions!