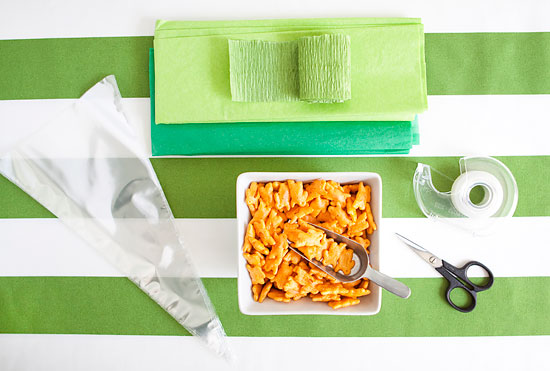
you will need to gather a few supplies:
scissors
clear tape
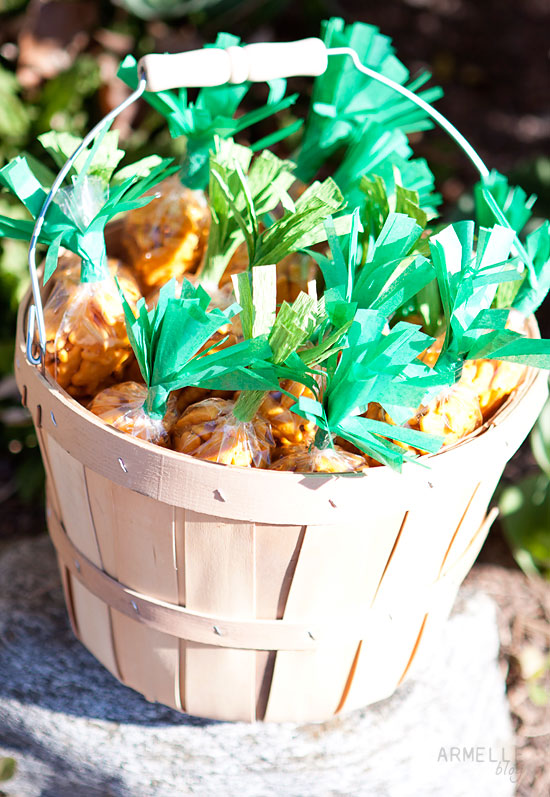
cone-shaped clear bags ( or found at hobby lobby, local craft stores)
cheddar bunny crackers (found at target, wal-mart, whole foods, etc)
green crepe paper or gift tissue paper
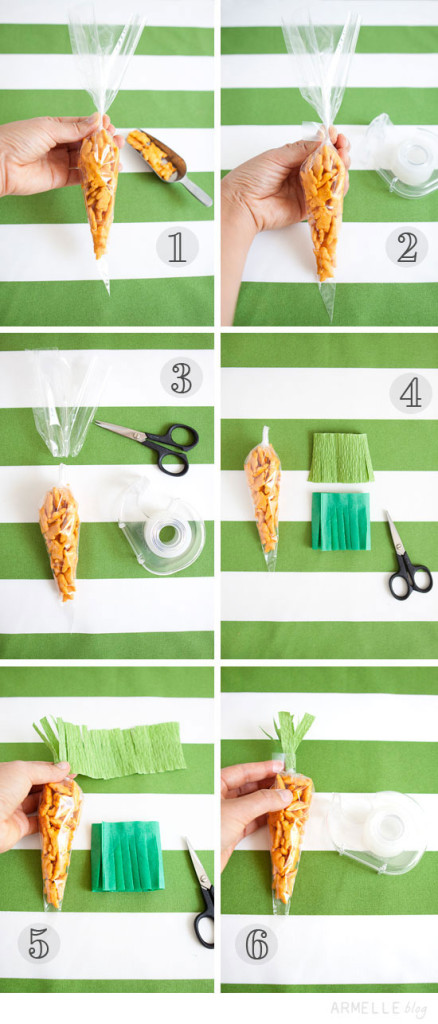
1) fill the cone-shaped bag with the desired amount of cheddar bunny crackers and twist the top of the bag closed.
2) seal the top of the bag closed with a small piece of tape around the twisted area.
3) cut off any excess plastic bag just above where you taped.
4) cut 2 to 2 1/2 in strips of tissue/crepe paper and then cut fringe into the paper on one side stopping about 1/4 to 1/2 inch before you cut through to the other side.
5) take the tissue/crepe paper and wrap it around the tip of the plastic cone bag a few times with the fringy part facing the top.
6) take a small piece of tape, and tape the crepe/tissue paper into place. arrange the fringe, and viola!
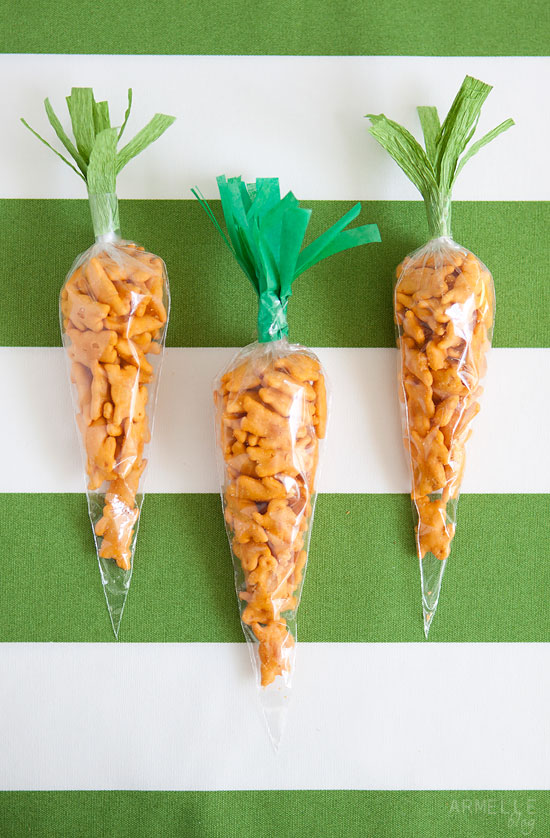
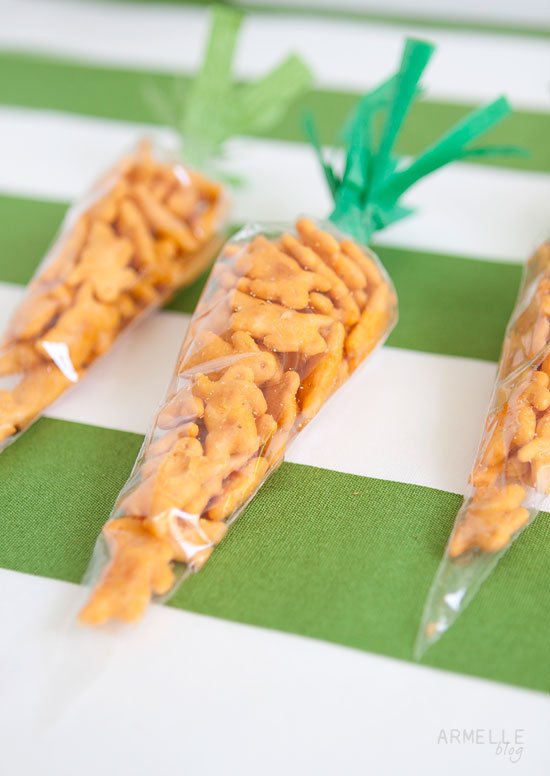
my kids helped me make some for an easter party we attended this week! they had so much fun putting them together, and they just loved giving them to their little friends!
happy easter!
{all photos by me}