Tag Archives: Tutorial

a wreath …

July 21, 2011

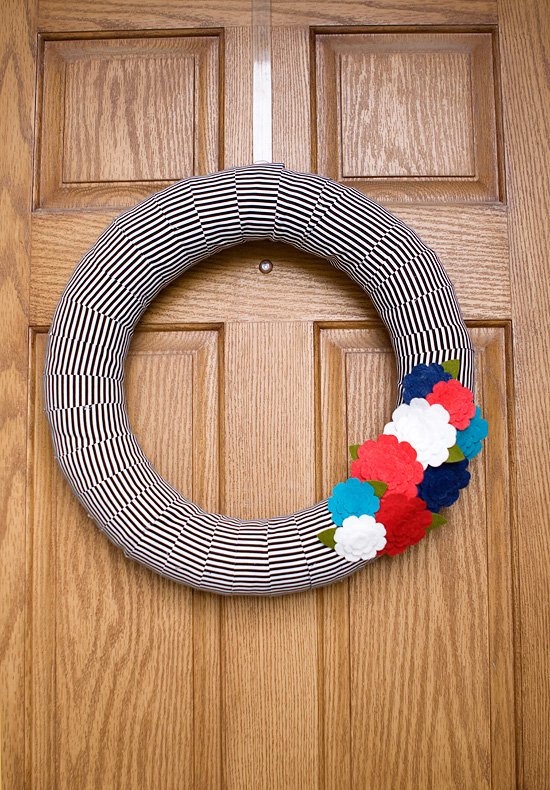
i wanted to share with you a fun wreath i made for my door.  
i’ve been needing to make a new wreath for a while, and since i was getting ready for norah’s red, white, and two party, i decided to make a festive one.

here is a quick how to:
supplies
straw or foam wreath (found at the craft store, i found mine at hobby lobby) *if you do the straw wreath, just keep the plastic on.
cotton batting by the yard cut into 5 inch strips (about 3/4 yard)
1/2 yard fabric (cut into 3 inch strips), i used black and white striped fabric from hobby lobby
pin backs (optional)
hot glue gun, glue
wool blend felt (various colors for flowers, green for leaves) *i used the wool felt because it’s better quality and thicker, and when i use the die cutters, they cut out better.
scissors

directions:
wrap the wreath with the strips of cotton batting and glue or pin into place.  you can do one layer around the entire wreath, or more depending on how thick you want it.  next, take the strips of fabric and start wrapping around the wreath, and glue the ends into place with the glue gun, then keep wrapping until finished.

next, i used my lifestyle crafts epic six tool and the nesting blossoms cutter from the new possibilities release to cut out my flowers in various colors.  then, i used the nesting leaves to cut out the leaves.

next, i glued the flowers together, and glued the leaves to the flowers. then, since i wanted to be able to change out the flowers, i glued them to little pin backs and pinned them onto the wreath where i thought they looked good.

i’m excited to be able to change out the flower colors for different season!

*exciting news for my readers!  lifestyle crafts is offering you 20% off your entire order from their website!  just type in the code ARMELLE at checkout!

recycling an old calendar …

March 25, 2011

some calendars are really too cute to just throw away after the year is over.
good thing there are a lot of options on what you can do with the pretty images.

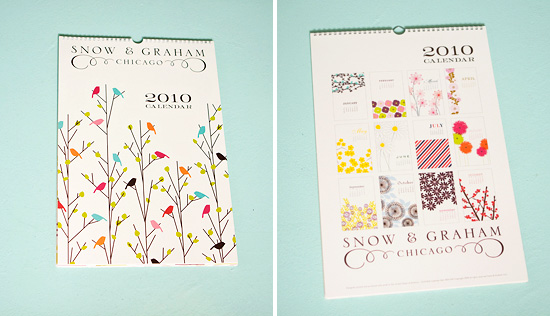
i decided to make a mini desk calendar with my old snow and graham calendar using some of my die cuts from lifestyle crafts.

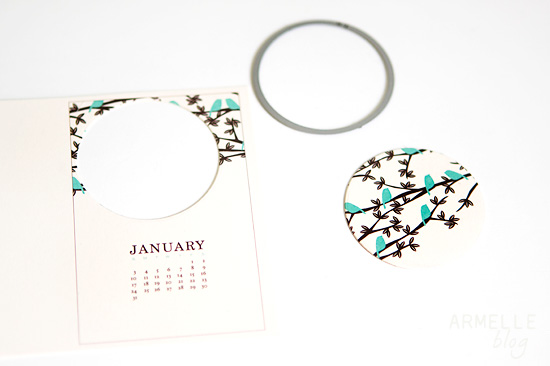
i used my small circle die cut to cut out some of the pretty images from the back of my old calendar.

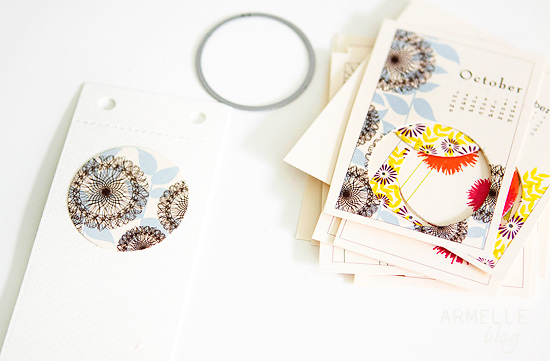
then, i cut out a bunch of the coupon booklet dies.

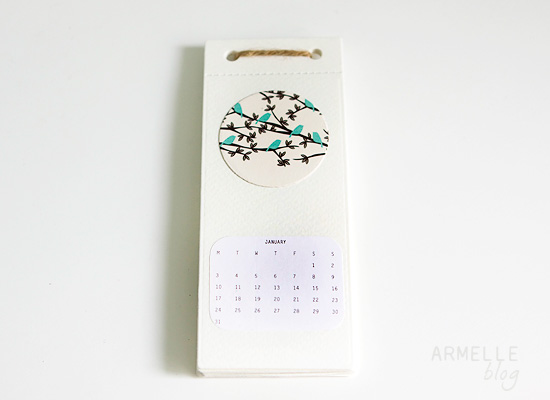
then i attached all my pretty circles, and printed out small calendars on label paper.

and, attached the mini-calendar together with twine.

i thought it was a great way to recycle my old calendar, and also make myself a new mini-one!

so, what do you do with your old calendars?

diy: ikea rast dresser to bedside table …

March 15, 2011

I have seen a lot of great Ikea hacks with the Ikea rast small dresser turned bedside table or nightstand.  After i saw this one, i kept it in my “to do” files and i knew it would be a great option for some new bedside tables / nightstands we were in desperate need of.

It really is the perfect size and offers some great storage.  It is also nice that it comes un-painted so that you can customize your piece to any color you would like.
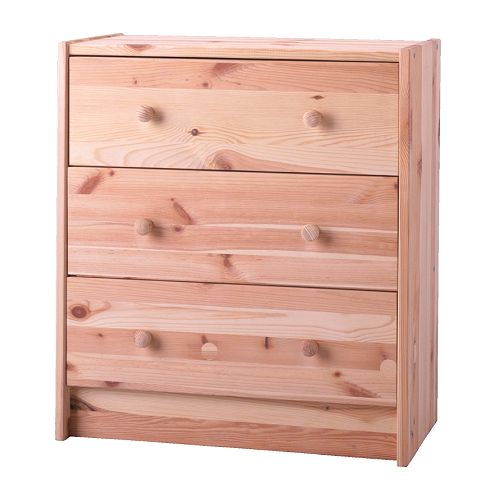
So, we started out with two ikea rast dressers.
This is what they looked like before:
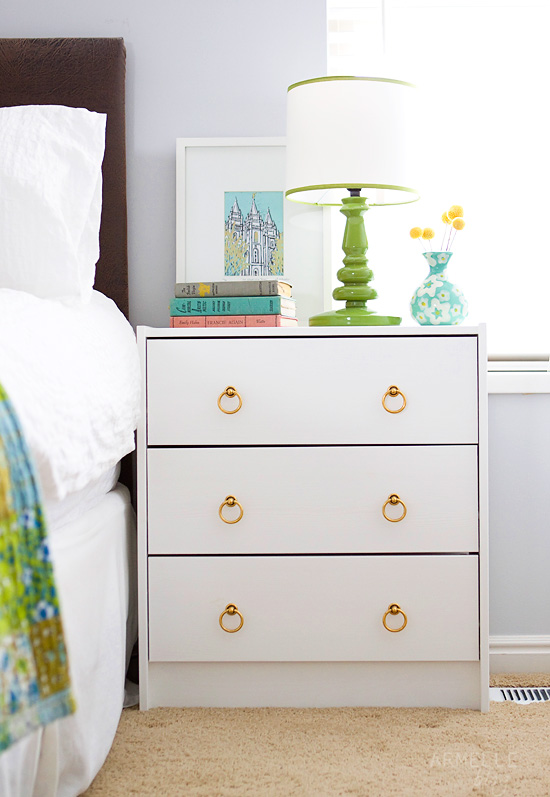
And, here’s the after, painted white with new hardware:
I’ve had a lot of questions about my painting process, so here’s a little rundown of how i usually paint or re-paint any kind of furniture.
How to paint furniture:
1.  Clean/ wipe down the furniture really well, especially if it is used.  i usually just use baby wipes or clorox wipes, but just make sure there aren’t any fibers hanging around.
2.  Apply two coats of kiltz primer (i prefer the latex kind) with a good quality foam brush from a good paint or hardware store, not the craft store kind.  the foam brush is key, it is what makes the end result nice and smooth.  this dries really fast, so i usually wait about 20 minutes or so between coats if i am in a hurry.  and, no i do not sand.  i feel like it is a waste of time and i don’t want to inhale all those weird bits of paint.  so, i just use primer over everything and it has worked very well.  even for veneer finishes, like on the ikea malm bed i just painted.  the primer helps the paint stick to pretty much anything i’ve tried.
3. Next, apply two to three coats of the color of your choice with a foam brush (i usually wait at least an hour between coats, or until it is dry)  but, look at the instructions on your paint.  i like the furniture paint found locally at four chairs furniture, they use old village paint, but i have also used stuff from lowes or home depot, and it has been fine too.  also, since the foam brushes are pretty cheap, i just throw them out each coat and use a new one.

4. Next, i let the piece dry at least over night before putting on the two to three coats* (depending on how shiny you want it) of the top coat.  i prefer to used the water based minwax polyurethane finish. i usually let it dry at least an hour or more between coats.  *for the top finish, i don’t use the foam brushes, because it sucks up the finish.  i use a synthetic brush like this one, i think it’s made of nylon or polyester.  i paint it on quickly with nice long strokes.  it seems the more you go back over a layer, the more it seems to add a weird texture, so i try to work fast.  if you do find some clumpy-ness then just let it dry and sand it with a very very fine sand paper then re-apply.  when finished with each coat make sure to clean the brush really well with really, really hot water between coats, or you can get some stickiness and build up on your piece.
5.  Let it dry a day, then add the hardware!
Hopefully this helps!  I have painted a lot of stuff the last little while, and this process is what has worked best for me!
I found the hardware for my nightstands here.  size 51 mm x 43 mm in burnished bronze.